Fog Machines and Lasers: The Complete Setup & Safety Guide
This post contains affiliate links. As an Amazon Associate, we earn from qualifying purchases.
To make laser beams visible and create dimensional effects, you need an atmospheric machine, either a haze unit for continuous, even beams or a fog machine for thick, dramatic clouds. The process requires matching particle size (0.3–3 microns), positioning foggers low and lasers high, syncing output with a DMX controller, and adhering to strict laser safety protocols.
Most people buy a laser, point it at a wall, and see a disappointing dot. They assume the beam itself should glow in the air. It doesn’t. Without particles to scatter the light, a laser is just a pinpoint. The real magic, the glowing beams, the 3D tunnels, the aerial graphics, happens in the air you fill.
This guide walks through the physics, the equipment choices, the precise placement, and the non-negotiable safety rules for combining fog machines and lasers. You’ll learn why haze is the pro’s secret, how to avoid the patchy-beam look, and what to do when the venue manager asks for your ILDA compliance paperwork.
Key Takeaways
- Laser beams are invisible in clear air. They require suspended particles from a fog or haze machine to scatter light (Rayleigh scattering) and become visible.
- Haze machines produce fine, long-lasting particles for even, continuous beam visibility, the standard for club and concert laser shows.
- Fog machines produce denser, faster-dissipating clouds for dramatic bursts and “big moment” effects, but can create uneven beam geometry if not carefully managed.
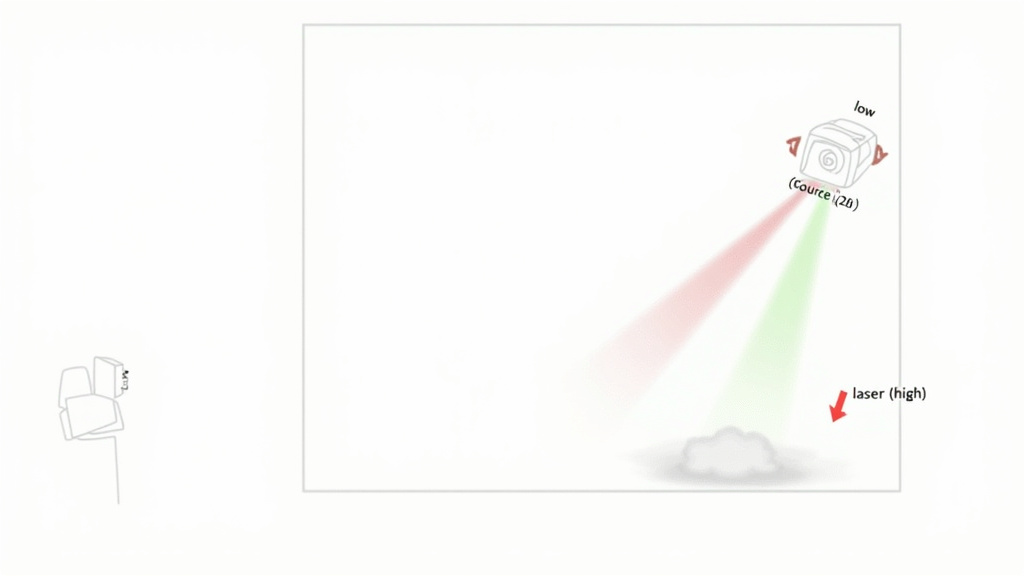
- Always position fog/haze machines at ground level and lasers elevated (8-12 feet) and angled downward. Cross-beam setups create depth.
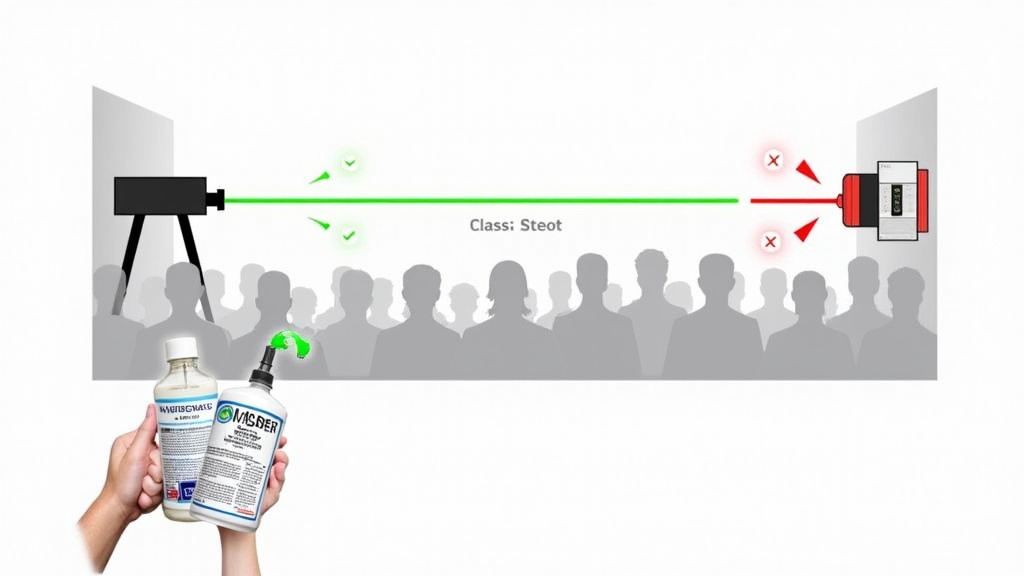
- Laser safety is paramount. Use only certified Class 3R or Class 3B/4 lasers in controlled environments, keep beams above eye level, and never scan into a crowd.
Why Do You Need Fog or Haze for Lasers?
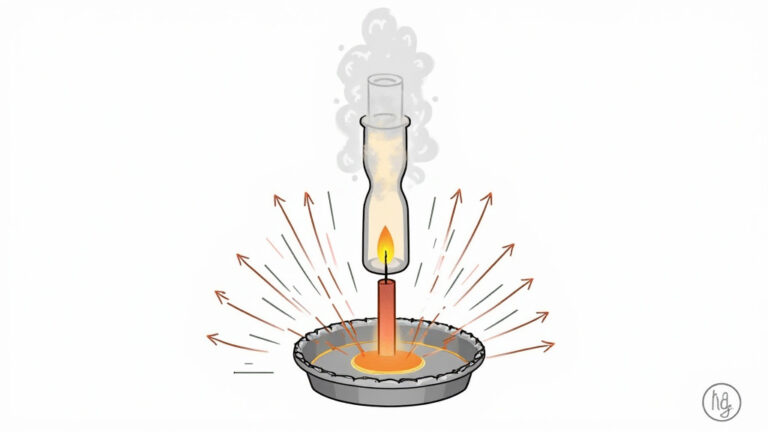
A laser beam in a clean room is just light traveling in a straight line. Your eye only registers it when it strikes a surface, like a wall or a fog particle. This is Rayleigh scattering, light interacting with particles smaller than its wavelength. The laser light bounces off these microscopic obstacles and reaches your eyes from the side, making the beam’s path glow.
Laser light becomes visible through Rayleigh scattering when it interacts with atmospheric particles between 0.3 and 3 microns in size. Water-based fog or haze fluid produces these optimal particles, creating a suspension that diffuses the beam evenly without leaving heavy residue on optics.
The particle size matters. Too large, and the beam looks chunky and opaque. Too small, and it won’t scatter enough light. Professional haze fluid and fog machine juice are formulated to hit that 0.3–3 micron sweet spot. This is why you can’t just use a cheap water sprayer. The droplets are 100+ microns, they’ll rain out and make a mess, not a beam.
If you skip this atmospheric layer, your laser show is a series of moving dots. It looks cheap. The first time I rented a Class 3B laser for a small venue show, I didn’t budget for haze. We set up, powered on, and saw… nothing. Just red dots dancing on the back wall. The client’s face fell. I had to send a runner for a hazer last-minute. The beams materialized, the show saved. Now I treat the atmospheric machine as part of the laser rig, not an optional accessory.
TL;DR: Lasers need particles in the air to scatter light and become visible. The right particle size (0.3–3 microns) is non-negotiable.
The Haze vs. Fog Decision Matrix
This is the core choice. Getting it wrong means fighting your equipment all night.
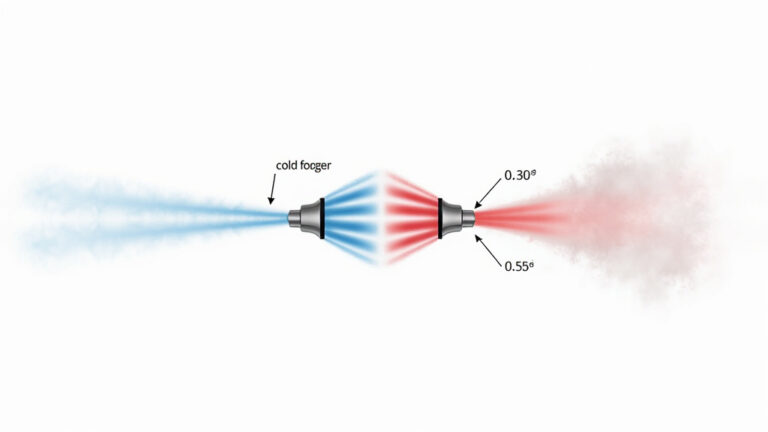
Haze and fog are not the same. A haze machine heats fluid to create a fine, dry aerosol that hangs in the air for minutes or even hours. It’s designed for uniformity. A fog machine uses a similar heating process but often with a different fluid ratio, producing a wetter, denser cloud that falls and dissipates faster.
Your choice dictates the entire visual language of your show.
| Machine Type | Particle Character | Best For | Risk If Misapplied |
|---|---|---|---|
| Haze Machine | Fine, dry, long-lasting (0.3–1 micron) | Continuous beam visibility, complex aerial graphics, 3D tunnel effects. The pro standard for laser clubs. | Can be too subtle for “wow” moments; requires a well-sealed room to build up. |
| Fog Machine | Dense, opaque, fast-falling (1–3 micron) | Dramatic bursts, scene transitions, thick volumetric beams for photos/video. | Creates patchy beam geometry if uneven; dissipates quickly, requiring constant re-triggering. |
Haze gives you a blank canvas. The beams look sharp, continuous, and dimensional. Fog is a special effect. It’s for the chorus drop, the entrance, the reveal. Most professional shows layer both: a hazer runs continuously to maintain beam visibility, and a fogger is triggered at key moments for impact.
The budget trap is buying a fog machine when you need haze. You’ll blast a cloud, the beams look amazing for eight seconds, then the fog sinks and the beams vanish. You blast again. The room gets wet, the floor gets slick, and the lasers look inconsistent. I made this error for two seasons before investing in a proper hazer.
TL;DR: Use haze for even, continuous beams. Use fog for thick, dramatic bursts. Pros use both.
Matching Your Laser to the Atmosphere

Not all lasers work with all atmospheres. A 5mW Class 2 laser pointer will barely show up in heavy fog, it doesn’t have the power to scatter enough light. A 1W Class 4 laser in a small, hazy room can look overwhelmingly bright and create significant scatter, potentially obscuring detailed graphics.
You need to match power to particle density.
- Low-Power Lasers (Class 2, 3R – under 5mW): Need a denser atmosphere. They benefit more from fog than haze. The thicker particle count gives the weak beam more to bounce off of. This is common for budget DJ setups.
- Medium-Power Lasers (Class 3B – 5mW to 500mW): The sweet spot for haze. This is the standard club and mobile DJ range. The beams are bright and defined in a properly hazed room without excessive scatter.
- High-Power Lasers (Class 4 – over 500mW): Require carefully controlled haze. Too much atmosphere and the beam becomes a solid wall of light, losing definition. These are for large venues and often used with lower haze density for graphic projection.
The laser’s wavelength (color) also interacts differently. Green (532nm) is the most visible to the human eye and pops in lighter haze. Red (650nm) and blue (445nm) often need a slightly denser atmosphere to appear equally bright. When programming a multi-color show, you might need to adjust haze levels between cues.
Common mistake: Using a high-power Class 4 laser with fog machine output at maximum. The beam becomes a solid, blinding column that washes out all detail and dramatically increases audience exposure risk. Dial the fog way back or switch to haze.
Your DMX controller is the translator here. A good console lets you tie fog output level to specific laser cues. For a delicate green spiral graphic, program a low haze fan speed. For a thunderous white strobe effect, trigger a 100% fog burst two seconds prior. This synchronization is what moves a show from amateur to professional. It’s why reading a comprehensive fog machine guide that covers control protocols is a mandatory first step.
The Step-by-Step Setup for Beam Visibility
Forget just plugging things in. Placement is geometry, and timing is physics.
Step 1: Establish Your Atmospheric Base Layer
If using haze, start your machine 30 minutes before showtime in a closed room. You want the particles to evenly distribute. The room should have a faint, uniform mist, you can see a beam, but you can also see across the room. If using fog for bursts, test the output time. It typically takes 5-10 seconds from trigger to full cloud.
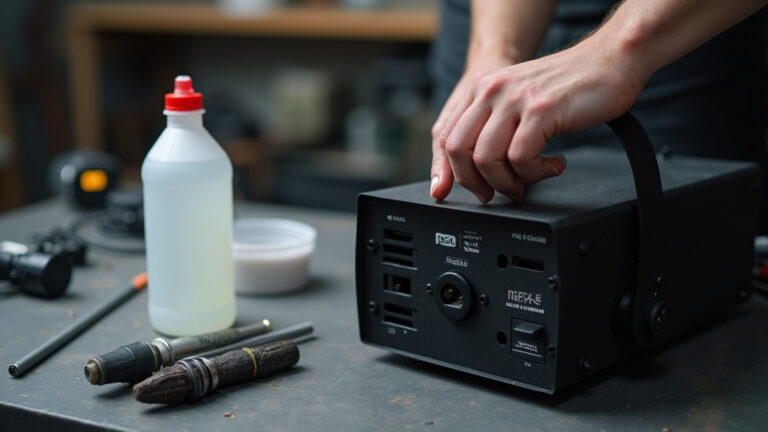
Always use the fluid specified for your machine. Generic fluid can produce wrong-sized particles or leave oily residue on your expensive laser projector optics. For long-running haze shows, premium fog juices designed for extended operation prevent overheating and clogging.
Step 2: Position the Machines Correctly
Fog/Haze Machines: Place them at ground level, ideally near the front of the space or along side walls. Fog rises as it warms; starting low lets it drift through the laser beams. Never place a fogger directly on a table pointing at a laser lens, the fluid residue will coat the lens in three shows.
Lasers: Mount them 8-12 feet high, aiming slightly downward (15-30 degree angle). This ensures beams intersect the rising fog and travel a longer path through the atmosphere, maximizing visibility. For depth, set up two lasers crossing beams from opposite sides of the room.
Step 3: Sync and Sequence with DMX
This is where the art happens. Don’t manually hit buttons.
- Program a “base haze” scene that runs your hazer at 30-40% continuously.
- Create laser effect cues (beams, tunnels, graphics).
- Layer fog bursts as separate cues triggered 2 seconds before a dramatic laser cue. The fog builds, then the lasers hit, the reveal.
- Build in cool-down. After a heavy fog sequence, program a 2-3 minute pause for the machine to reset. Overheating kills pumps.
For outdoor events, all this gets harder. Wind scatters atmosphere instantly. You need high-output, weather-resistant foggers and must position them upwind of the lasers. An outdoor fog machine with a powerful fan is essential, not a nice-to-have.
Step 4: The Critical Safety Sweep
Before anyone enters the space:
* Verify laser paths. Use a low-power setting or a camera phone’s sensor (point the camera at the laser source; you’ll see the beam on screen). Ensure no beam path intersects where a person’s head might be.
* Check for slip hazards. Feel the floor near foggers. Water-based fluid is slippery. Use drip trays.
* Confirm ventilation. Venues often require it. Your haze needs to stay in, but fresh air needs to circulate for safety. Know the rules.
TL;DR: Place fog low, lasers high. Use DMX to sequence fog bursts before laser hits. Always conduct a safety check for beams and slips.
Navigating Safety and Regulations
This isn’t just advice. In many regions, it’s law.
Laser Safety: In the U.S., the FDA’s Center for Devices and Radiological Health (CDRH) regulates lasers. For public exhibitions, you generally need a variance for anything above a Class 2 laser. Class 3R lasers can be used in “controlled” settings with precautions (like being above eye level). Class 3B and 4 lasers require a licensed operator, enclosed beam paths, and often a dedicated safety officer. The International Laser Display Association (ILDA) provides industry standards that many venues require.
Never scan a laser beam into a crowd. Ever. Even a “safe” Class 3R laser can cause retinal damage if it hits a stationary eye from close range. Always position lasers so their beams travel above head height, or use “beam stop” devices to terminate paths safely.
Atmospheric Safety: Venues have rules about fog machine fluids and haze. Many prohibit oil-based or mineral oil fluids due to residue and respiratory concerns. Water-based glycol-based fluids are the standard. Always provide the venue with the Material Safety Data Sheet (MSDS) for your fluid. Some artists have specific clauses in their riders banning certain fluid types, check first.
Your own fog machine safety includes not breathing the output directly from the nozzle (it’s hot and concentrated) and ensuring adequate room ventilation to prevent moisture buildup. A packed, unventilated room with heavy fog can lower oxygen levels and cause discomfort.
Troubleshooting Common Problems
The beams look bad. Now what?
- Patchy or Broken Beams: This is uneven atmosphere. Fog sinks into pools. Solution: Switch to a haze machine for even coverage, or use multiple foggers around the room’s perimeter to create a uniform cloud. Ensure your HVAC isn’t blowing a stream of clean air through the beam path.
- Rapid Dissipation (Outdoors): Wind is stealing your atmosphere. Solution: Use a high-output fogger designed for open areas, create a windbreak with tarps or scenery, and position machines directly upwind. Expect to use 3-4 times more fluid.
- Laser Alarm or Shutdown: Many professional lasers have particle sensors. If fog machine output is too thick and drifts into the laser’s intake vents, it can trigger a contamination alarm and shut the unit down. Solution: Redirect fog output away from laser units, increase distance, or reduce fog density.
- Residue on Laser Lens: A fine film kills brightness. Solution: Use only high-quality, water-based theatrical fog fluid. Clean lenses before each show with appropriate optics wipes. Never use a fogger that lists “mineral oil” as a primary ingredient.
Common mistake: Placing a single fog machine in the center of the room and pointing lasers from the back. The beams only show in the center cloud, looking great for photos but vanishing everywhere else. The fix is multiple ground-level fog sources or a central hazer.
If you’re investing in a system for a specific use, like creating atmosphere for photography fog machines, your tolerance for patchiness is zero. You need the even, consistent output of a hazer, not the dramatic peaks and valleys of a fogger.
Before You Go
Laser beams are born in the air, not in the projector. Your fog or haze machine is the co-star, not a supporting actor. Choose haze for sharp, continuous beams that last. Choose fog for thick, dramatic moments that punch.
Match your laser’s power to the atmosphere you create, low power needs fog, high power needs controlled haze. Place your equipment with intention: fog low, lasers high, beams crossing. Control it all with a DMX console to sequence the magic.
Finally, respect the light. Follow laser safety protocols to the letter, use venue-approved fluids, and always test your setup with an empty room. The difference between a stunning spectacle and a safety incident is a few minutes of planning. Now go light up the air.
Frequently Asked Questions
Can I use a laser without a fog machine?
Yes, but you will only see the laser dot where it hits a surface, not the beam itself. For beam visibility and aerial effects, atmospheric particles from a fog or haze machine are mandatory.
What’s better for a home party: fog or haze?
For a home party, a fog machine is usually better. It creates immediate, dramatic “wow” effects that guests love. Haze is subtler and requires a more sealed environment to build up, which is harder in a home with open doors and HVAC.
Are fog machines bad for lasers?
Not if used correctly. Low-quality fluid or overuse can leave residue on laser lenses, reducing output. Always use water-based fluid specified for your machine and avoid directing fog output directly into the laser’s intake vents.
How do I make laser beams show up outdoors?
It is challenging. You need a high-output outdoor fog machine to overcome wind, position it upwind of your lasers, and accept that effects will be shorter-lived. Haze is nearly impossible outdoors without very still air.
What class laser is safe for public use?
Regulations vary, but for uncontrolled public access, Class 2 lasers (under 1mW) are generally considered “eye-safe” with a blink reflex. For shows where audience exposure is controlled (beams above heads), Class 3R lasers (up to 5mW) are common. Always check local regulations and venue requirements.
Can I use any fluid in my fog machine?
No. Using the wrong fluid can damage the machine’s heating element, produce harmful byproducts, or create a slip hazard. Always use the fluid type recommended by the manufacturer.