How to Set Up a Halloween Fog Machine in 5 Minutes Flat
This post contains affiliate links. As an Amazon Associate, we earn from qualifying purchases.
To set up a Halloween fog machine, you match three things: the correct fluid for your machine, a full warm-up cycle, and strategic placement for maximum effect. Fill the tank halfway with manufacturer-specific fog fluid, connect the remote, plug it in, and wait 4–6 minutes for the ready light before your first test burst.
Most people ruin the effect—or the machine—by skipping one of those three matches. They use the wrong liquid, they get impatient and hit the button early, or they put the unit on a table where the fog vanishes into the ceiling. The machine sputters, the party vibe fizzles, and you’re left with a puddle of sticky fluid and a cold heater block.
This guide walks through the commercial machine setup that works every time, dives into two proven DIY methods if you’d rather build than buy, and covers the advanced move of adding a motion sensor for a truly haunted house. We’ll also cover what most articles skip: how to clean the thing so it works next year, and exactly why leaving fluid in the tank over winter guarantees a clog.
Key Takeaways
- Use only fluid specified for your machine; substituting water, oil, or perfume damages the heating element and creates unsafe fumes.
- Always wait for the machine’s “ready” light (typically 4–6 minutes) before producing fog; triggering early blows cold, wet fluid through the system and causes internal clogs.
- Place the machine at floor level and aim the nozzle horizontally; fog is warm and rises, so a low starting point creates the classic rolling-ground-effect.
- For long-term storage, run the machine dry on clean fluid or thoroughly drain the tank to prevent glycol residue from hardening inside the pump and tubing.
- DIY foggers using an ultrasonic atomizer are more reliable and safer than the classic glycerin-and-candle method, producing a cool, dense fog without an open flame.
What Most Guides Get Wrong About Fog Machine Fluid
They treat all fog juice as interchangeable. It’s not. The fluid is the chemical recipe that turns into fog, and the wrong one wrecks the machine. Commercial fog machine fluids are primarily water-based solutions of glycols like propylene glycol or triethylene glycol. These compounds vaporize at the machine’s operating temperature (around 400°F) into a visible mist that hangs in the air.
Common mistake: Using “water-based” fluid in a machine designed for “oil-based” fluid, or vice versa — the wrong fluid won’t vaporize correctly. It either carbonizes on the heating element, creating a burnt smell and black smoke, or passes through as a wet, drippy mist that damages the pump. The repair bill often exceeds the machine’s cost.
The label on your fluid bottle matters. A theatrical fog fluid for indoor stages is formulated to dissipate quickly and leave minimal residue. A halloween fog fluid might be thicker, designed for outdoor use where you want the fog to linger longer near the ground. Using a high-residue fluid indoors leaves a slippery film on floors and can trigger asthma for sensitive guests.
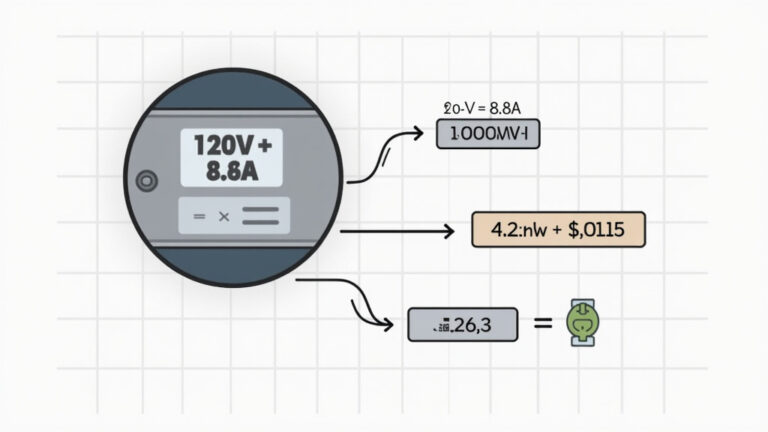
Your machine’s manual will specify a fluid type. If it’s gone, match the wattage. A 400-watt machine typically uses a standard fluid. A 1,000-watt high-output machine needs a fluid that can handle the faster vaporization rate without clogging. When comparing fog juice recommendations, viscosity is the hidden spec. Thicker fluids for high-wattage machines, thinner for low-wattage.
TL;DR: Match the fluid to your machine’s wattage and intended use (indoor vs. outdoor). The wrong chemistry destroys the heating element.
The 5-Step Commercial Machine Setup (And Why Order Matters)
The process is simple, but the sequence is rigid. Swap two steps and you’ll be troubleshooting instead of fogging.
Step 1: Fill the Tank — But Only Halfway.
Open the fill cap. Pour your chosen fog machine fluid until the tank is half full. This isn’t a suggestion. A full tank increases pressure on the internal pump, forces fluid into the heating chamber when the machine is off, and guarantees spills when you move it. The half-tank rule is in every OEM manual for a reason.
Step 2: Connect the Remote Before Power.
Plug the wired remote into its dedicated port, or sync the wireless one according to its instructions. Do this while the machine is unplugged. Fumbling with connections after power is applied can short the control board. I’ve seen a cheap machine fry its IC because someone jammed the remote plug in backwards while the unit was live. A $5 part, a $75 service call.
Step 3: Plug In and Initiate Warm-Up.
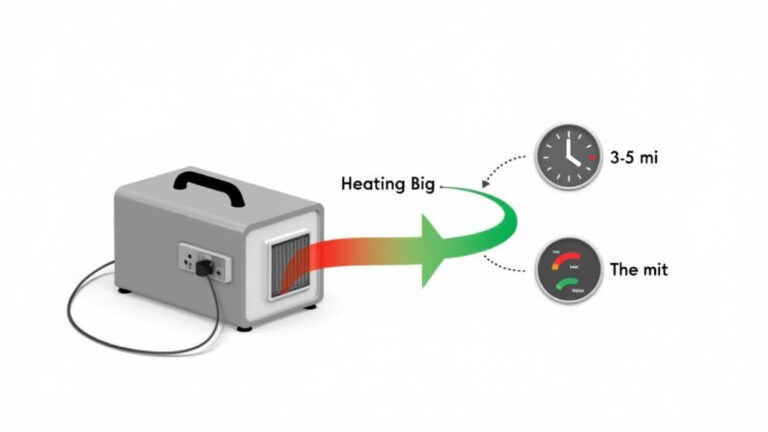
Plug the machine into a grounded wall outlet. Turn the power switch on. An amber or red heating indicator light will glow. This is the most critical wait in the entire process. The machine is bringing a metal heat exchanger up to roughly 400°F. This takes 4 to 6 minutes, depending on ambient temperature and wattage.
A standard 400-watt fog machine requires a 300-second warm-up cycle to reach operating temperature (per Chauvet DJ’s basic operation manual). Hitting the fog button at 250 seconds forces cool, unvaporized fluid into the chamber. That fluid then cooks onto the element, forming an insulating crust that reduces output and eventually causes a thermal cutoff.
Step 4: Confirm “Ready” and Test.
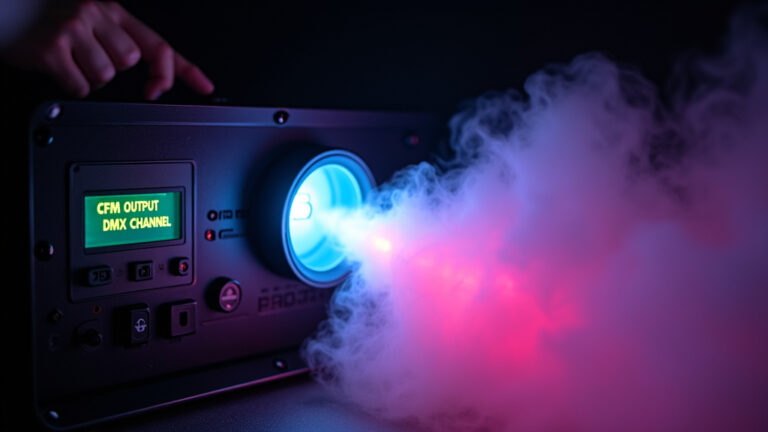
A green or blue “ready” light will illuminate when the cycle is complete. Now press the remote button for a one-second burst. You should see a dense, white plume. If the output is weak or sputtering, stop. The likely culprits are an incomplete warm-up, low fluid, or a clog beginning to form.
Step 5: Position for the Effect.
Place the machine where you want the fog to originate. The best effect for a haunted walkway is at ground level, aimed slightly upward. Fog is hot and will rise. Starting low gives it distance to travel and cool, creating that classic rolling look. If you place it on a porch rail, the fog will shoot out and dissipate upward in three seconds.
| Setup Step | Right Way | Risk If Skipped or Wrong |
|---|---|---|
| Fill Tank | Half full with specified fluid | Overfill floods pump; wrong fluid damages heater |
| Remote Connection | Connect before power | Live-port insertion can short control board |
| Warm-Up | Wait for “ready” light (4–6 min) | Cold fluid clogs heater; weak, wet fog output |
| Initial Test | 1-sec burst after ready light | Masks underlying issues like low fluid or partial clogs |
| Placement | Low to the ground, nozzle level | Fog rises instantly; effect lasts seconds, not minutes |
TL;DR: Fluid half-tank, remote connected cold, wait for the ready light, test short, place low. That order is non-negotiable.
DIY Fog Machines: Glycerin Candle vs. Ultrasonic Atomizer
Not ready to buy a commercial unit? You can build a fogger. The two common paths are the old-school glycerin method and the modern ultrasonic approach. They are not equal.
The glycerin candle fogger is the classic science fair project. You heat a pan of food-grade glycerin over a candle. The glycerin vaporizes, hits cooler air, and condenses into fog. It’s cheap. It’s also finicky, produces minimal fog, and involves an open flame near a viscous, flammable liquid. I built one for a classroom demo. The glycerin never got hot enough in the center of the pan, so the fog output was a wispy, intermittent trickle. It smelled like burnt sugar. For a small, contained prop like a cauldron, it can work. For covering a yard, forget it.
The ultrasonic atomizer fogger is the smarter DIY choice. A piezoelectric transducer vibrates at high frequency, creating a fine mist from water or a water-glycol mix. These modules are sold online for under $15. You need a container, the module, a power supply (a 12V DC adapter works), and some tubing.
Here’s the build sequence:
1. Submerge the ultrasonic disc in a watertight container filled with distilled water or a dilute fog fluid mix.
2. Run the power wires to a 12V DC adapter. Seal the wire entry point with silicone.
3. Attach a length of plastic tubing to an outlet in the container lid to direct the fog.
4. Power it on. Fog will pour out within seconds.
The fog is cold, dense, and continuous. You can hide the container inside a pumpkin or a tombstone prop. It’s safer (no flame, lower heat) and far more reliable. The limitation is output volume; it won’t match a 1,000-watt commercial machine, but for a localized effect, it’s superior to the glycerin method.
I won’t use the glycerin method for anything beyond a tabletop centerpiece. The fog output is too inconsistent, and the fire risk is real if the candle tips. The ultrasonic module costs about the same as a bottle of glycerin and produces ten times the fog without the hazard.
| DIY Method | Best For | Fog Output | Primary Risk |
|---|---|---|---|
| Glycerin & Candle | Contained props, science demos | Low, intermittent | Open flame; flammable glycerin |
| Ultrasonic Atomizer | Pumpkin props, tombstone effects, indoor small scenes | Medium, continuous | Water spills; electronics short if not sealed |
| Commercial Machine | Yard coverage, party atmospheres, stage effects | High, on-demand | Overheating; fluid misuse; requires ventilation |
TL;DR: For DIY, skip the candle. An ultrasonic atomizer is cheaper, safer, and produces more usable fog for Halloween props.
Going Pro: Adding Motion Sensors and IoT Control
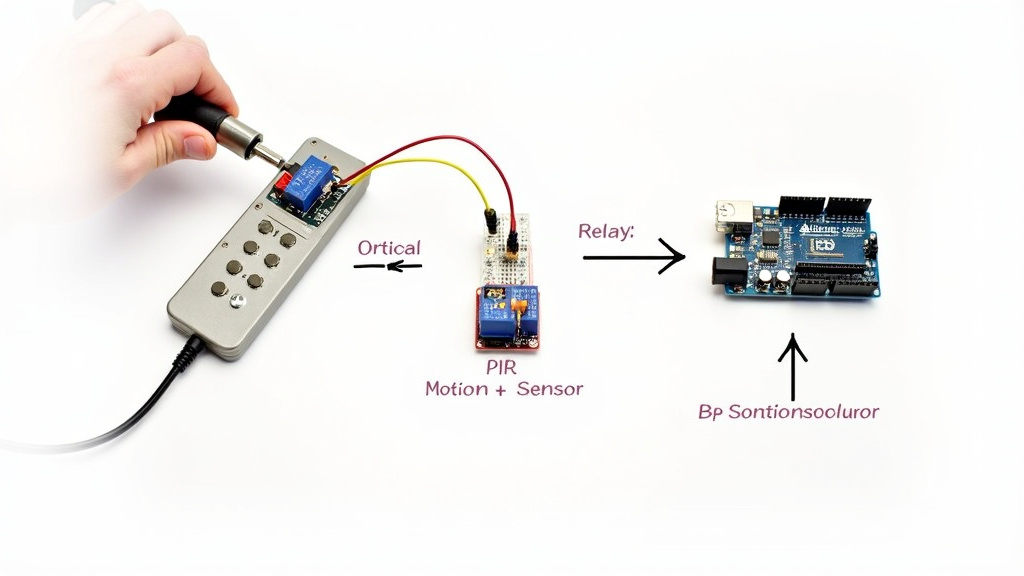
This is the gap in every basic guide. A fog machine that just runs on a timer is basic. A fog machine that triggers when someone walks by is unforgettable. With about $50 in components and some basic soldering, you can automate any machine with a wired remote.
The principle is simple: you intercept the remote’s trigger button circuit and place a relay in its path. A microcontroller like an Adafruit QT Py controls the relay based on input from a sensor. A passive infrared (PIR) motion sensor is the obvious choice for a haunted trail.
The Adafruit Learning System has a complete guide for this, using their IO platform for internet control. The component list is specific: Adafruit QT Py RP2040, a PIR sensor, a relay module, and a 5V power supply. You solder leads from the remote’s button contacts to the relay’s normally-open terminals. When the PIR detects motion, the QT Py energizes the relay for a set duration, mimicking a button press.
The first time I wired this, I used a relay rated for 5V DC but tried to switch the remote’s 12V signal. The relay clicked once, then fused shut, causing the fog machine to run continuously until I ripped the plug from the wall. The lesson: match the relay’s switching voltage to the remote’s circuit voltage. Use a multimeter to check.
This turns a reactive prop into an interactive experience. You can set a delay so the fog bursts a second after the person passes, heightening the surprise. For a truly advanced setup, you can network multiple machines to create a sequenced fog chase down a path.
TL;DR: Hacking a fog machine with a PIR sensor and microcontroller creates professional, reactive scares. The critical detail is using a relay that matches the remote circuit’s voltage.
Safety, Ventilation, and the Indoor Question
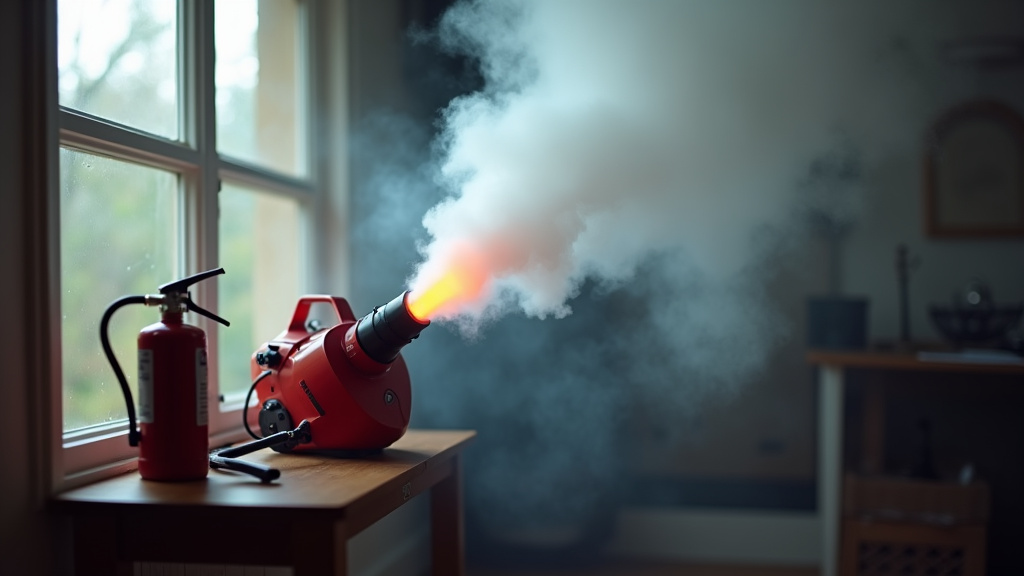
Before you start: Fog machines get very hot — the exterior near the nozzle can reach 150°F after extended use. Keep all flammable decorations, curtains, and costumes at least three feet away. The fluid is a mild irritant; avoid skin contact and do not ingest. Always have a fire extinguisher or bucket of water within reach when operating any fogger, DIY or commercial.
Can you use it indoors? Yes, with caveats. Ventilation is not optional. Propylene glycol-based fog, while generally safe, can still irritate lungs in concentrated amounts. Open a window or run a fan to create air exchange. The fog will also leave a fine, slippery residue on hard surfaces over time. Test a small area of your flooring first.
People with asthma, bronchitis, or other respiratory conditions should avoid direct exposure. Inform your guests that fog will be used. Theatrical fluids are formulated for better indoor air quality, but they are more expensive. For a house party, running a 400-watt machine for short, occasional bursts is fine. Running a 1,000-watt machine continuously in a sealed bedroom is a bad idea.
The fog itself is not flammable, but the machine’s heating element is extremely hot. Never point the nozzle directly at people or objects at close range. The emerging fog is hot enough to cause discomfort or minor burns.
Maintenance: Cleaning and Off-Season Storage
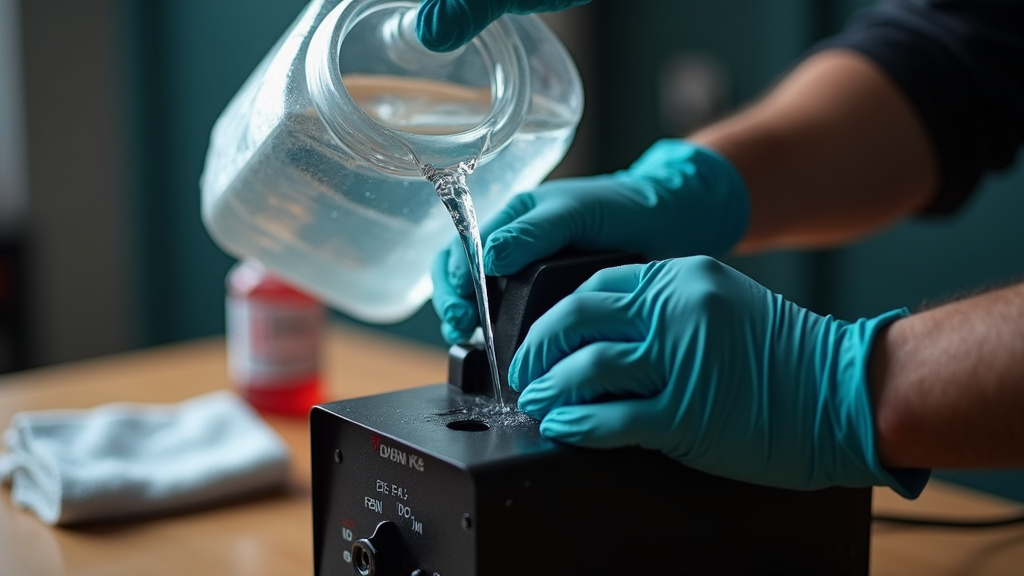
This is where most Halloween fog machines die. The fluid leaves a glycol residue inside the pump, tubing, and heating chamber. If left to dry, it hardens into a varnish-like plug.
After your final use of the season, you have two choices. The best practice is to run the machine dry on a tank of distilled water or a dedicated machine-cleaning fluid. This flushes the glycol from the system. Let the machine heat and produce “fog” (steam) until the tank is empty. Then disconnect power and let it cool completely with the cap off.
The second option is thorough drainage. Remove the fluid tank and pour out any remaining fog juice. Tilt the machine to drain any fluid from the internal pickup tube. Store the machine and fluid bottle in a cool, dry place.
Common mistake: Leaving fog juice in the machine over the winter — the glycol and water separate. The water can evaporate or freeze, concentrating the glycol into a syrup that completely blocks the pump and heater inlet by spring. The machine will hum but produce no fog, requiring a professional disassembly and clean-out.
For regular cleaning, a monthly flush with distilled water during active use prevents buildup. If you notice decreased output or sputtering, a clog is likely forming. Refer to a detailed guide on cleaning a fog machine for your specific model’s disassembly steps. Usually, it involves removing the nozzle and soaking it in vinegar or isopropyl alcohol to dissolve the mineral and glycol deposits.
Frequently Asked Questions
Can I use water in my fog machine?
No. Plain water does not contain the glycols necessary to create a persistent fog. It will produce steam, which rises and dissipates instantly, and more critically, it leaves mineral deposits (scale) on the heating element that will destroy it. Only use manufacturer-recommended fog machine fluid.
How long does a bottle of fog juice last?
It depends entirely on your machine’s wattage and how you use it. A 400-watt machine might use one quart of fluid over 4-6 hours of intermittent use. A 1,000-watt machine can consume that same quart in under 2 hours. For a typical Halloween night of 3-4 hours of occasional bursts, a one-quart bottle is sufficient.
Why is my fog machine not producing any fog?
Follow this diagnostic chain: 1) Is the “ready” light on? If not, wait longer. 2) Is there fluid in the tank? 3) Is the remote properly connected and functional? Try the manual button on the machine itself. 4) Has the machine been stored with fluid in it? If yes, the internal fluid line is likely clogged with hardened glycol and needs cleaning.
Is the fog safe for pets?
The fog itself is generally non-toxic, but pets, like people, can be sensitive to the particulate matter and the smell. It’s best to keep pets out of heavily fogged areas. Ensure they have access to fresh air and watch for signs of respiratory distress like coughing or wheezing.
Can I mix fog fluids to create a custom scent?
Do not mix different brands or types of fog fluid. Their chemical compositions can react unpredictably, potentially damaging the machine or creating irritating byproducts. If you want scented fog, purchase a fluid that is pre-scented by the manufacturer.
The Bottom Line
Setting up a Halloween fog machine is a five-minute job if you follow the sequence: right fluid, half a tank, remote connected cold, and a full warm-up. Place it low. The real pro move isn’t a bigger machine; it’s putting that machine on a motion sensor so the fog surprises your guests instead of just surrounding them.
Skip the glycerin-and-candle DIY. An ultrasonic atomizer is the better build. And when the night is over, either run the machine dry on clean water or drain every drop from the tank. That single habit doubles the lifespan of a cheap machine. The difference between a prop that works for one Halloween and one that works for ten is just that—a five-minute cleanup.