How Much Dry Ice Do I Need for Perfect Fog Effects?
This post contains affiliate links. As an Amazon Associate, we earn from qualifying purchases.
You need between 0.5 and 1 pound of dry ice per gallon of water, depending on whether you want a steady stream or a dramatic burst. Hot water between 120°F and 180°F is mandatory. That one-pound-per-gallon ratio produces a thick, rolling fog for about two to three minutes before the water cools and you need to refresh both elements.
Most guides stop at the ratio. They don’t tell you that the water cools faster than the dry ice sublimates, which is why your fog thins out after ninety seconds even if you started with a steaming bucket. The real work is managing that cooling rate.
This guide breaks down the math for every scenario: a Halloween porch, a theater stage cue, a wedding entrance. We’ll cover the exact quantities, the safety rules you cannot skip, and the tricks to make five pounds of dry ice last for thirty minutes instead of ten.
Key Takeaways
- The 1:1 pound-per-gallon ratio is for short, intense fog. The 0.5:1 ratio is for a longer, steadier stream.
- Water temperature is the hidden variable. Hot water (120–180°F) forces rapid sublimation; warm water just extends the clock.
- Ventilation is a non-negotiable safety step. Carbon dioxide gas displaces oxygen in enclosed spaces.
- A deep container and a low-speed fan control fog thickness and direction.
- Dry ice storage in a cooler preserves it. Leaving it out on a counter wastes half your purchase in four hours.
The Core Formula: Dry Ice vs. Water Temperature
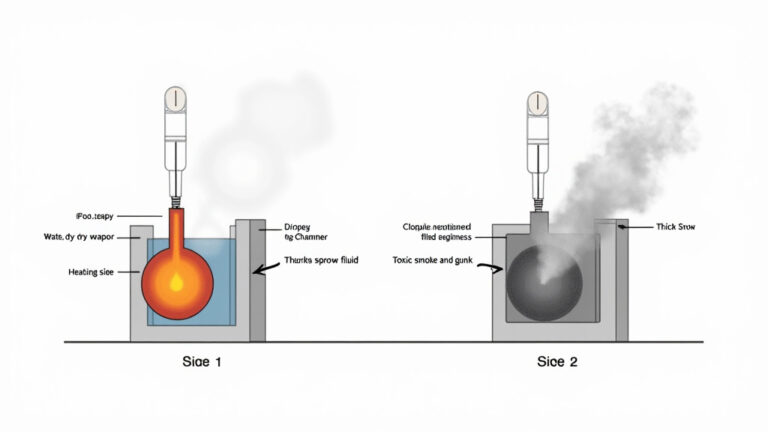
The visible fog isn’t carbon dioxide gas. It’s condensed water vapor created when the dry ice sublimates, turning directly from solid to gas at -109°F, and chills the surrounding air. The speed of that sublimation is controlled by the water’s temperature.
Hot water, between 120°F and 180°F, is the catalyst. It transfers heat energy to the dry ice so fast that the CO2 gas erupts and drags a dense cloud of condensed moisture with it. Warm water works, but the fog will be wispy and take longer to form. Cold water eventually produces fog, but you’ll wait minutes for a faint mist.
For a featured-snippet target: One pound of dry ice submerged in one gallon of hot water (120–180°F) yields vigorous fog for 2–3 minutes. The fog volume peaks in the first 60 seconds as thermal energy transfer is maximum, then declines as water temperature drops. A 0.5-pound-per-gallon ratio extends the duration to 5–10 minutes with less intense output.
Common mistake: Using lukewarm water to save time, the fog never achieves that thick, rolling quality and dissipates within a foot of the container. You’ll smell the dry ice sublimating, but see only a faint haze.
The numbers are simple, but the execution requires matching your goal to the right ratio.
| Fog Goal | Dry Ice | Water | Expected Duration | Peak Fog Quality |
|---|---|---|---|---|
| Short dramatic burst | 1 lb per gallon | Hot (120–180°F) | 2–3 minutes | Thick, rolls 3–4 feet |
| Steady stream for events | 0.5 lb per gallon | Hot (120–180°F) | 5–10 minutes | Consistent, dense plume |
| Long-lasting atmosphere | 2.5 lb in 4–5 gal | Hot, then maintained | 15–30 minutes | Requires replenishment |
TL;DR: Hot water plus 1 pound per gallon for a burst; half that ratio for a stream. The water temperature drives the intensity, not just the dry ice amount.
Calculating Quantity for Your Specific Event
A Halloween cauldron on a porch is different from a theater stage blackout. The porch needs maybe ten minutes of effect. The stage needs a precise, thirty-second cue that fills the entire wings.
For a typical home Halloween setup with a five-gallon bucket, start with five pounds of dry ice and four gallons of hot water. That’s the 1:1 intense ratio. It will produce a massive cloud for three minutes. To keep it going for ten minutes, add another two pounds after the first cloud subsides and refresh with a gallon of fresh hot water. Total dry ice: seven pounds.
For a theater production, the timing is tighter. A common professional recommendation is five pounds of dry ice in four gallons of water for a 5–10 minute effect that can fill a stage. If the cue is shorter, use less. If you need fog to linger through a scene, switch to the 0.5-pound-per-gallon ratio and use a larger water reservoir.
Here’s a cost-effectiveness reality. Dry ice costs about two to three dollars per pound in most markets. That seven-pound Halloween run costs around fifteen dollars. A commercial dry ice fog machine might cost more upfront but uses less dry ice per minute because it recirculates water. For a one-time party, the bucket method wins. For monthly events, the machine saves money.
I used a ten-pound block for a wedding entrance in a closed tent. The fog looked amazing for the first two minutes. Then the guests near the back started coughing and one felt dizzy. We hadn’t calculated the CO2 buildup in a 2,000-square-foot enclosed space. Now I add a ventilation rule: open area or fan-outward airflow for any use over five pounds.
TL;DR: Porch Halloween: 5 pounds initial, 2 pounds refresh. Theater: 5 pounds in 4 gallons for 5–10 minutes. Always factor ventilation for indoor use over five pounds.
Equipment and Setup: Beyond the Bucket
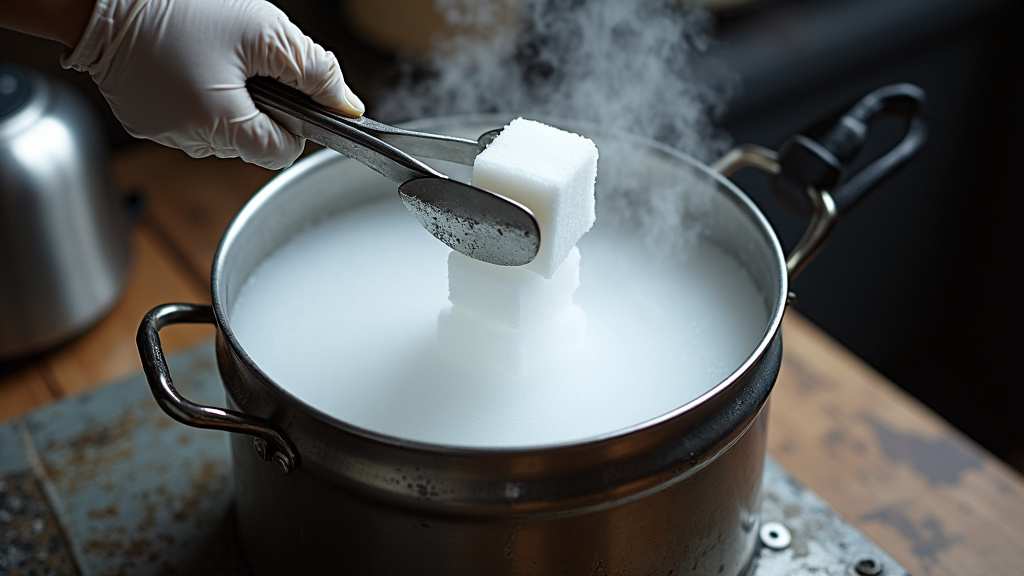
The container isn’t just a bucket. Its depth determines whether the fog gathers into a thick blanket or escapes as a thin wisp. A container three times deeper than your dry ice chunk lets the fog pool and rise uniformly. A shallow bowl forces it to spread sideways immediately, thinning it.
You need four tools:
1. Insulated gloves or tongs (not oven mitts, the cold penetrates cloth).
2. A heat-resistant container, plastic can crack under thermal shock, metal is better.
3. A hot water source you can refresh (a kettle or pot nearby).
4. A small fan on a low setting to direct the fog.
The fan doesn’t create fog. It extends its reach. Fog naturally spreads about two to three feet from the source. A fan on low can push it six feet, or shape it to flow across a stage. High speed breaks up the cloud.
Common mistake: Using a kitchen pot that’s only six inches deep for a four-inch dry ice chunk, the fog never develops body and looks like steam from a boiling potato. You hear the hiss, but see a disappointing haze.
Breaking the dry ice matters. A hammer and a towel work, but wear gloves. Smaller pieces react faster with water, giving an immediate burst. Larger chunks sublimate slower, lasting longer. For a steady stream, use a two-pound chunk. For a burst, use one-pound pellets.
TL;DR: Deep container, insulated gloves, metal pot, low-speed fan. Depth creates thickness; the fan directs it.
Safety First: Handling and Ventilation Rules
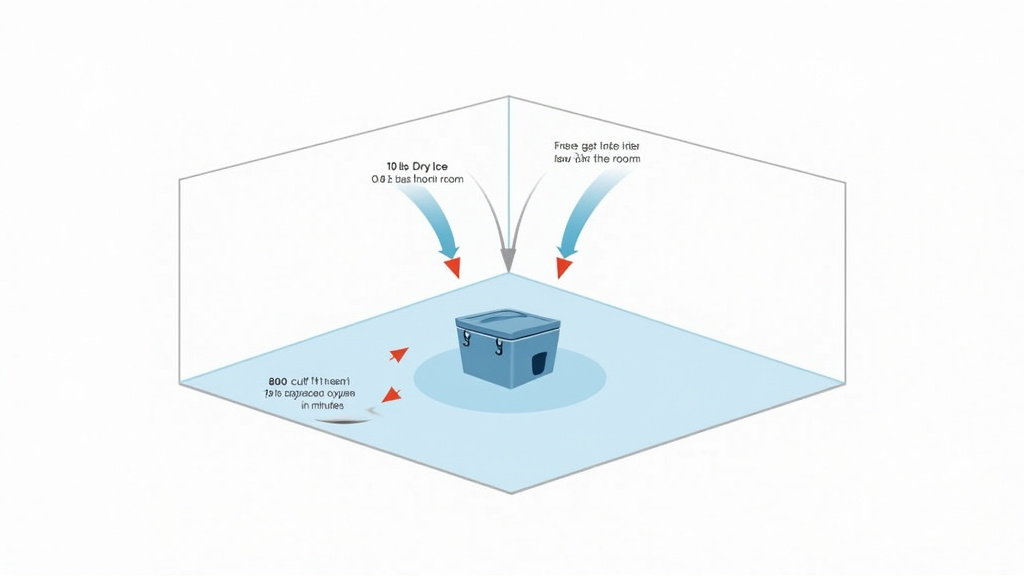
Dry ice is solid carbon dioxide at -109°F. Skin contact for three seconds causes frostbite burns. The gas it releases is heavier than air and displaces oxygen. In a closed room, CO2 levels can rise to dangerous concentrations within minutes.
Before you start: Wear insulated gloves. Never seal dry ice in a closed container, pressure buildup explodes it. Ensure constant ventilation, open windows or doors for any indoor use. Never add dry ice to drinks for effect.
The ventilation rule is arithmetic. One pound of dry ice sublimates into about eight cubic feet of CO2 gas. In a 10x10x8 foot room (800 cubic feet), ten pounds of dry ice can displace a significant portion of the oxygen in under ten minutes. Symptoms start with dizziness, then headache, then loss of consciousness.
Always store dry ice in a cooler, not directly on plastic or laminate surfaces. The extreme cold can crack them. Leave the cooler lid slightly cracked to allow gas escape, a sealed cooler becomes a pressure vessel.
Disposal is simple. Leave unused dry ice in a well-ventilated area and let it sublimate away. Never dump it in a sink or trash can; the cold can damage plumbing and the gas can build up indoors.
For more on the inherent risks, understand the dry ice properties that make it both useful and hazardous.
TL;DR: Gloves always. Ventilation always. Store in a cracked cooler. Let unused ice sublimate outdoors.
Making Fog Last Longer: The Maintenance Loop
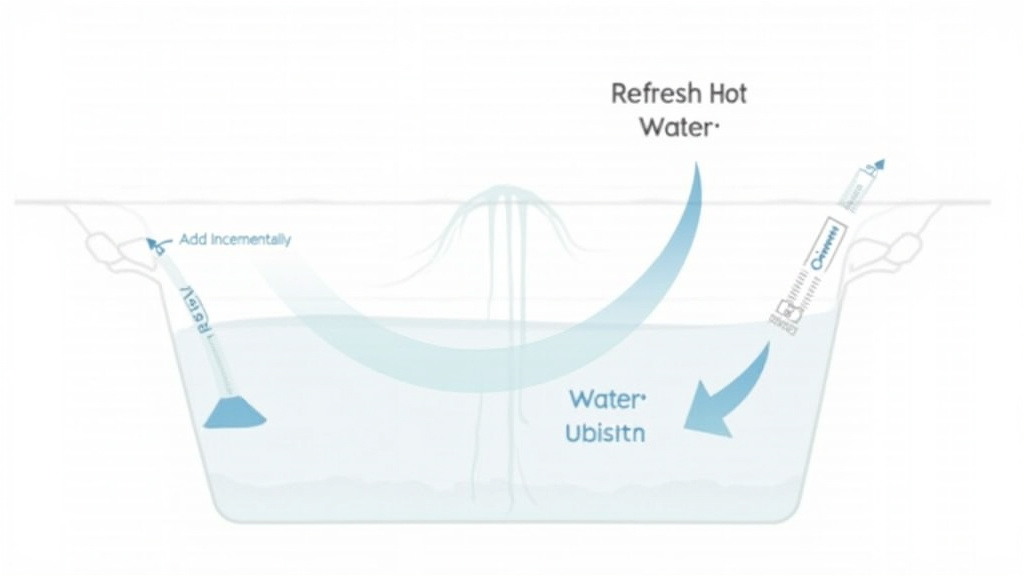
The fog thins because the water cools. The dry ice keeps sublimating, but the thermal energy transfer drops. You can’t just add more dry ice to cold water, it will produce a weak mist.
To sustain the effect, you need a maintenance loop:
1. Refresh the water. Replace a portion with fresh hot water every three to five minutes.
2. Add dry ice incrementally. Add half your initial amount as the fog weakens.
3. Consider a circulating pump. Some DIY setups use a small aquarium pump to move water, keeping it mixed and slowing cooling.
The 0.5-gallon-per-pound ratio some guides mention is a longevity trick. It uses less water per pound, so the water cools slower overall. But the fog output is lower from the start. It’s a trade-off.
Environmental factors play a role. Humidity helps, moist air condenses more readily into fog. A dry, hot room will dissipate fog faster. Cold outdoor air can make fog linger longer, but the water cooling problem is worse.
If your fog isn’t thick, check three things: water temperature (is it truly hot?), container depth (is it deep enough?), and dry ice size (are you using pellets that are too small and exhausting too fast?).
Building a dedicated DIY dry ice fogger with a reservoir and pump solves many of these maintenance issues.
TL;DR: Refresh hot water every few minutes. Add dry ice in small increments. Humidity and cold air extend fog life outdoors.
Dry Ice Fog vs. Fog Machine Fluid: When to Choose Each
Dry ice fog hugs the ground. It’s a low-lying, eerie blanket perfect for Halloween graveyards or stage floors. A fog machine uses heated fluid to produce a fog that rises and fills the air vertically.
The choice isn’t just about effect. It’s about cost, control, and safety.
| Method | Fog Behavior | Cost per Hour | Control Level | Safety Concerns |
|---|---|---|---|---|
| Dry ice + water | Low-lying, ground hug | ~$15–$30 (ice + labor) | Manual, timing tricky | CO2 buildup, burn risk |
| Fog machine fluid | Rises, fills volume | ~$5–$10 (fluid only) | Remote, precise | Fluid residue, overheating |
Dry ice is a one-time, high-impact tool. Fog machines are reusable and predictable. For creating sustained low-lying fog effects without the manual hassle, a dedicated machine wins.
Consider a fog chiller if you want the low-lying effect but with machine convenience. It cools standard fog machine output to create ground-hugging fog without dry ice.
TL;DR: Dry ice for ground-hugging, manual, intense effects. Fog machines for rising, automated, repeatable fog. A fog chiller hybridizes the two.
Troubleshooting Thin or Short-Lived Fog
You followed the ratio. The water was hot. The fog was weak and lasted ninety seconds. Here’s the diagnostic table.
| Symptom | Likely Cause | Fix |
|---|---|---|
| Fog thin, dissipates fast | Water too cool or shallow container | Use hotter water (180°F), deeper container |
| Fog lasts only 1 minute | Dry ice pieces too small | Use a larger chunk (2+ lbs) for slower sublimation |
| No fog, just hissing | Water cold, dry ice not submerged | Ensure hot water and submerge ice half an inch |
| Fog weak outdoors | Low humidity, high wind | Add a wind barrier, use more dry ice |
The most common fix is the water refresh. People forget that the water cools from 180°F to 100°F in about two minutes in a metal bucket. That’s when the fog weakens. Have a kettle of backup hot water ready.
If you’re consistently getting poor results, investing in a commercial dry ice fog machine with a thermostatically controlled water bath might be your solution.
TL;DR: Thin fog = check water temp and container depth. Short duration = use larger dry ice chunk and refresh water.
Frequently Asked Questions
Can I use dry ice in a regular fog machine?
No. Standard fog machines heat glycerin or glycol-based fluid. Putting dry ice into their reservoir can crack the heating element and cause pressure explosions. The machines are not designed for the thermal shock or CO2 gas. For specifics on this hazard, read about dry ice in fog machines.
How long does dry ice last in storage?
In a well-insulated cooler with the lid slightly cracked, dry ice sublimates about five to ten percent per day. On a counter, it can lose half its volume in four hours. Plan to purchase it the day of your event.
Is dry ice fog safe for indoor parties?
Only with strict ventilation. Open windows and doors, and use a fan to push fog outdoors. Never use more than five pounds in a standard room without active airflow. The CO2 risk is real.
What’s the best water temperature for fog?
The range is 120°F to 180°F (49°C to 82°C). Near the top of that range gives the most dramatic, immediate fog. Lower temperatures extend duration but reduce intensity.
How do I dispose of dry ice after use?
Leave it in a well-ventilated outdoor area to sublimate completely. Do not put it in sinks, trash cans, or sealed containers. For a full procedure, see our guide on dry ice disposal.
Before You Go
Dry ice fog is chemistry you can see. The ratio is simple: one pound per gallon for intensity, half that for duration. The water must be hot. The container must be deep.
Always glove up. Always ventilate. The gas is silent and heavy.
For a one-time Halloween effect, the bucket method is cost-effective and dramatic. For repeat performances, consider a dedicated machine. Whether you choose a DIY setup or a pro tool, the goal is the same: that thick, creeping cloud that turns an ordinary space into something unforgettable.