How to Make a Fog Machine Low Lying: 3 DIY Chiller Methods
This post contains affiliate links. As an Amazon Associate, we earn from qualifying purchases.
To make a fog machine low lying, you must cool the fog before it leaves the machine. Warm fog rises. Cold fog sinks. Build a simple chiller using a length of pipe packed with frozen water bottles, or a modified cooler filled with dry ice, to drop the fog’s temperature and create that ground-hugging effect.
Most people buy a standard fog machine, point it at the ground, and get disappointed when the cloud floats up to the ceiling. They blame the machine. The machine is fine. The problem is physics, and you can’t argue with physics. You have to work with it.
This guide walks through three proven DIY chiller builds, names the exact fog fluid that makes the effect last, and covers the safety rules everyone ignores until they have a slippery floor or a frostbite scare.
Key Takeaways
- The only way to get low-lying fog is to chill the fog. A DIY fog chiller is mandatory for standard machines.
- Dry ice in a cooler chiller creates the densest, longest-lasting effect but requires careful handling.
- The type of fog juice matters more than you think. Use a fast-dissipating fluid like Rosco Stage & Studio.
- Your floor and airflow will make or break the scene. Carpet helps; HVAC vents and drafts kill the effect.
- Ultrasonic foggers offer a water-based, low-heat alternative for indoor or small-scale use.
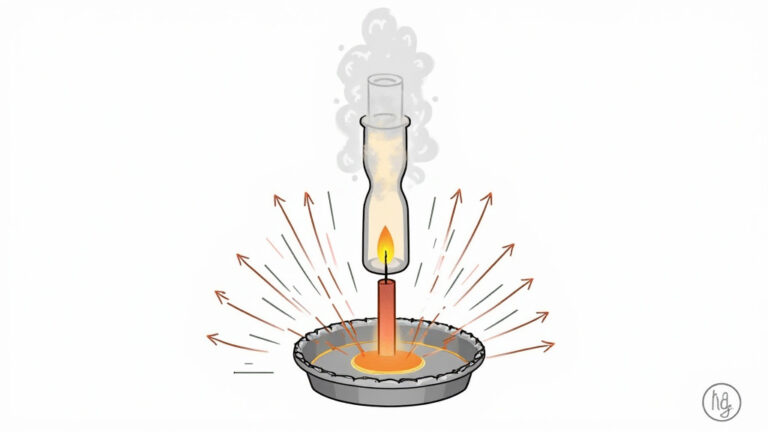
The Core Principle: Why Warm Fog Rises and Cold Fog Sinks
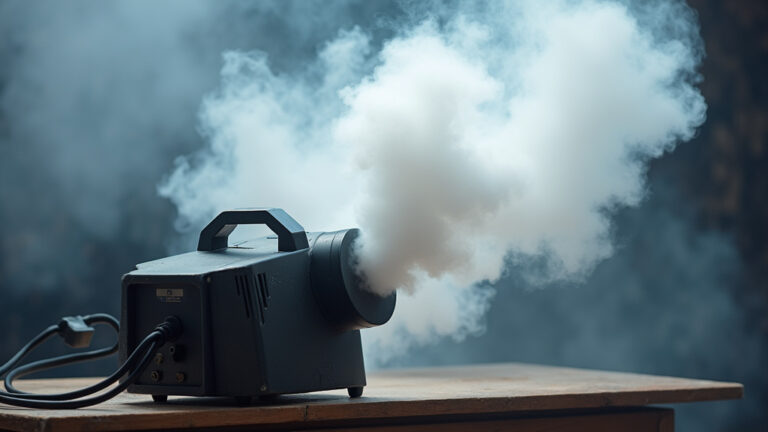
Your fog machine works by heating a specialized fluid until it vaporizes. This creates a cloud of microscopic droplets suspended in warm air. Warm air is less dense than the surrounding room air, so it rises. Fast.
Low-lying fog is created by rapidly cooling the fog output, increasing its density so it settles and flows along the ground like a liquid. This is achieved by passing the warm fog through a chamber containing ice, dry ice, or a refrigerated coil.
Cooling that fog changes everything. The droplets condense slightly, and the air carrying them gets heavier. Dense, cold air sinks. It will roll across your floor, pool in dips, and creep around corners. The greater the temperature difference between your chilled fog and the ambient air, the longer and lower it will stay.
TL;DR: Heat makes fog rise; cold makes it sink. A chiller is just a box or pipe that forces the hot fog to get cold before it escapes.
The 3 DIY Chiller Methods Compared
You have three main paths, each with a different cost, complexity, and effect. Don’t overthink it. Match the method to your event size and how long you need the fog to last.
| Chiller Type | Best For | Core Mechanism | Duration / Output |
|---|---|---|---|
| Pipe Chiller | Small rooms, short scenes, tight budgets | Fog passes through a pipe surrounded by frozen water bottles | 10-20 minutes before bottles thaw; light to moderate fog |
| Cooler with Dry Ice | Large venues, long events, professional density | Fog circulates in a cooler chamber filled with dry ice pellets | 30-60 minutes per dry ice load; very dense, persistent fog |
| Cooler with Regular Ice | Medium events where dry ice is unavailable | Fog passes over a wire mesh shelf holding bagged ice | 15-30 minutes; moderate density, more watery residue |
The pipe chiller is the quickest fix. The dry ice fog machine setup is the pro choice. Regular ice works in a pinch but melts fast and leaves puddles.
What You’ll Need: The Non-Negotiable Tools and Safety Gear
Gathering your parts first prevents mid-build frustration. This isn’t a casual craft project.
- A Standard Fog Machine: Any model with a continuous output mode or a manual button you can tape down. This is your heat source.
- Chiller Materials (Pick one set):
- For Pipe Chiller: 3-foot section of 4-inch PVC pipe, end caps, duct tape, 6-8 frozen water bottles.
- For Cooler Chiller: 48-quart plastic cooler, 4-inch PVC elbows and pipes, wire mesh or grate, silicone sealant.
- Cooling Agent: Dry ice (5-10 lbs for testing, 20+ lbs for an event) or standard ice.
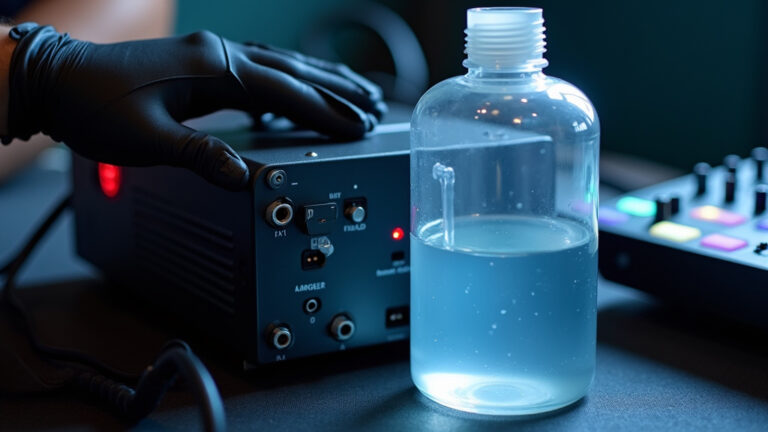
- Fog Fluid: Rosco Stage & Studio or another fast-dissipating formula. Do not use the thick, oily fluid that comes with cheap machines.
- Safety Gear: Insulated gloves for dry ice, safety goggles, and a well-ventilated workspace.
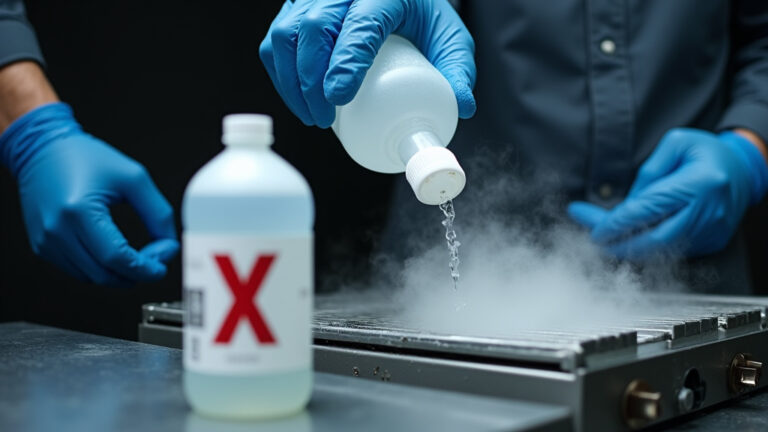
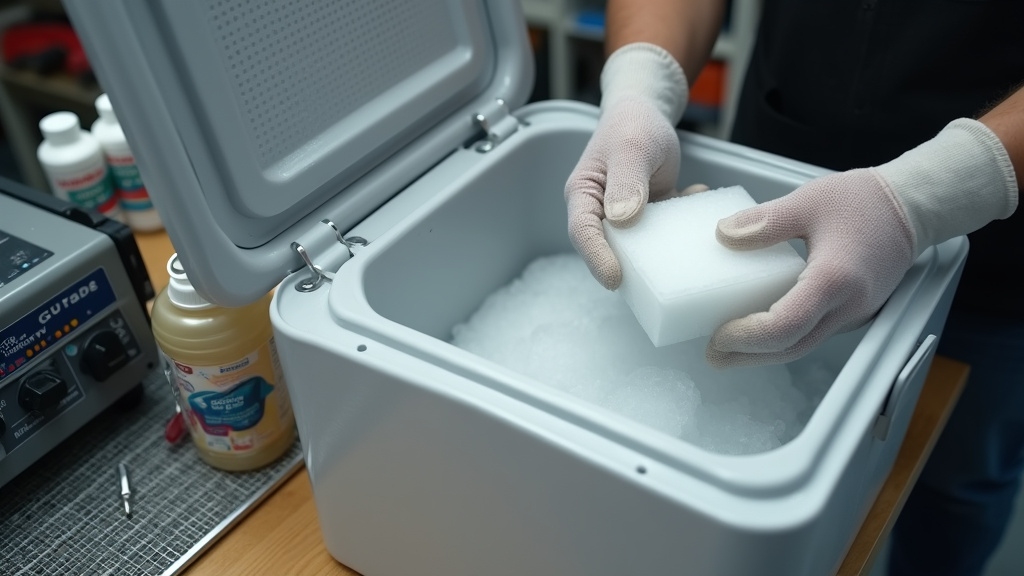
Before you start: Dry ice sits at -109°F (-78°C). Skin contact for more than a second causes severe frostbite. Always use insulated gloves. Never store it in an airtight container — the sublimating gas can build up and cause an explosion. Transport it in your car’s trunk, not the cabin.
Forget the gloves once, and you’ll remember forever. I learned that unloading a 20-pound block onto a basement floor. The cold burned through a thin cotton glove in two seconds, leaving a white, numb spot for a week.
Step-by-Step: The Dry Ice Cooler Chiller
This build delivers the most reliable, professional-grade low-lying fog for stages and haunted houses. The Dramatics Magazine fog-making tutorial was my blueprint the first time I built one for a community theater production.
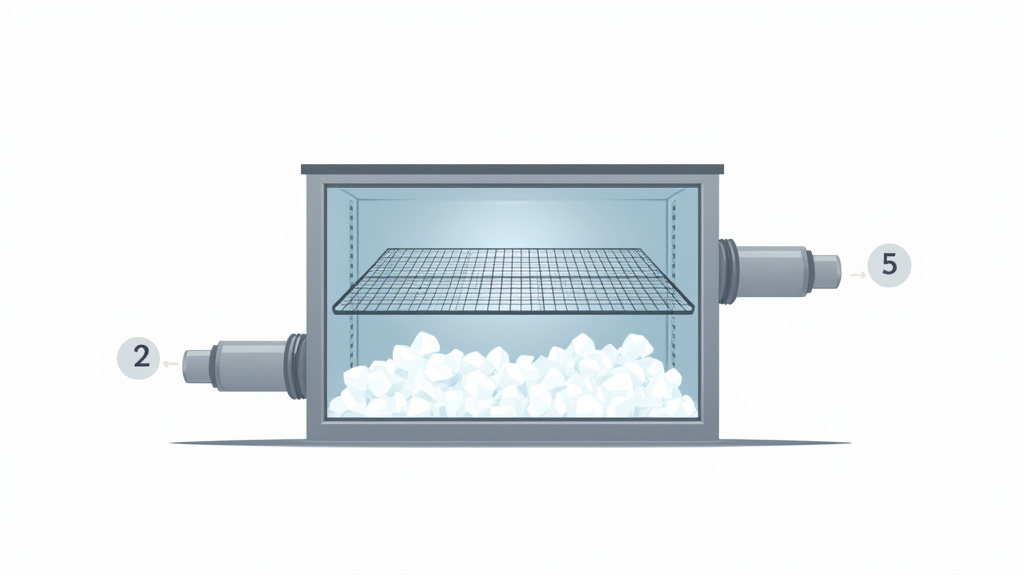
- Modify the Cooler. Cut two 4-inch diameter holes on opposite ends of the cooler’s long side, about a third of the way up from the bottom. These are your inlet and outlet. Insert a short piece of PVC pipe into each hole, seal the edges with silicone, and cap the outside with a PVC elbow pointing downward.
- Install the Ice Shelf. Cut a piece of wire mesh or plastic grating to fit inside the cooler, sitting about 4 inches above the bottom. Use screws or silicone to fix it to the walls. This elevates the dry ice, allowing fog to circulate underneath and preventing the cooler’s plastic from cracking from the extreme cold.
- Load the Dry Ice. With insulated gloves, place broken chunks or pellets of dry ice onto the shelf. Do not fill the cooler to the brim; leave space for fog to flow. For a 48-quart cooler, 15-20 pounds is a good starting load.
- Connect the Fog Machine. Place the fog machine’s output nozzle directly into the inlet PVC pipe. Use duct tape to seal the connection airtight. Any leak here lets warm, rising fog escape and ruins the effect.
- Test and Direct the Output. Point the outlet elbow where you want the fog to flow. Fill your fog machine with a premium low-lying fog juice. Run a test. Dense, white fog should pour from the outlet and roll across the floor.
Common mistake: Letting the dry ice sit directly on the cooler’s bottom — the concentrated cold can crack the plastic in under an hour, causing leaks and structural failure. Always use a shelf.
TL;DR: Cut holes, add a shelf, load dry ice on the shelf, pipe the fog in, and watch it pour out cold and heavy.
The Simpler Pipe Chiller Method
If you need an effect for a single room party and don’t want to source dry ice, this is your move. It’s a homemade fog chiller in its most basic form.
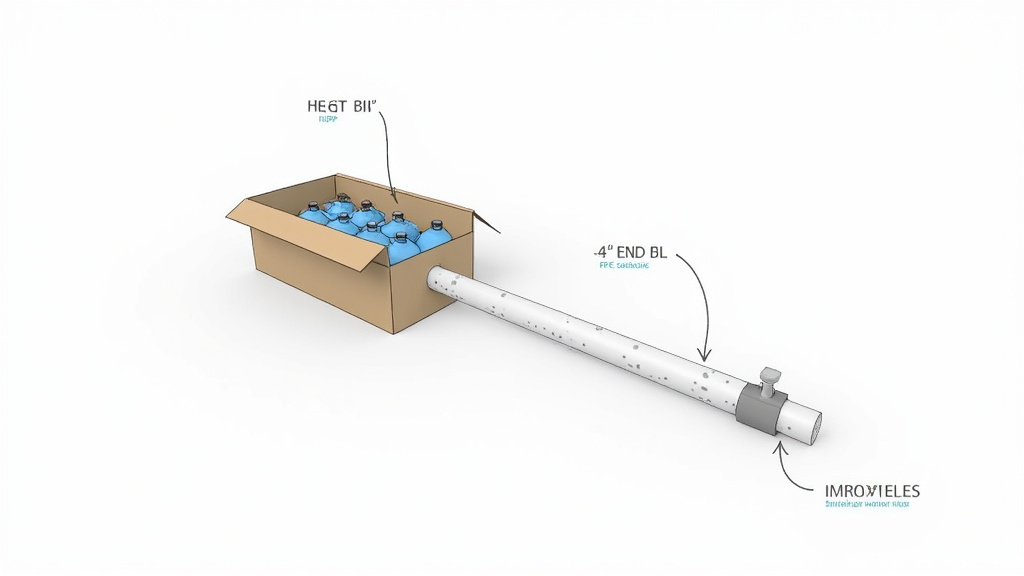
Grab that 3-foot section of 4-inch PVC pipe. Cap one end. Drill a dozen small holes in a line along its length. This is your fog exit path. Pack 6-8 frozen water bottles around the pipe inside a larger cardboard box or a second, wider pipe. Seal the gaps with towels or more bottles.
Insert your fog machine’s nozzle into the open end of the inner pipe and seal it with tape. When you run the machine, the fog travels through the pipe, gets cooled by the frozen bottles, and seeps out of the small holes as a low mist. The effect is subtler and shorter-lived than a dry ice chiller, but it works. The bottles will fully thaw in about 20 minutes, so have a second set frozen and ready to swap.
The Right Fog Fluid is Half the Battle
You can have a perfect chiller and still get mediocre fog if you use the wrong juice. The thick, glycerin-heavy fluid bundled with discount fog machines is designed for volume, not performance. It creates large droplets that resist cooling and dissipate slowly, often leaving a hazy residue in the air.
For true ground-hugging fog, you need a fast-dissipating fluid. These are typically glycol-based fog fluid formulas engineered to produce a finer aerosol. The smaller droplets cool faster and more completely in your chiller. They also vanish more cleanly as they warm, preventing that lingering “smog” effect.
Rosco’s Stage & Studio fluid is the industry benchmark for this. It’s worth the extra cost per gallon. Pouring the cheap stuff into a fog machine for low-lying fog is like putting regular gas in a race car. It’ll run, but not well.
Environmental Factors: Your Floor and Air Are Part of the System
Your chiller is only one variable. The venue is the other.
- Floor Surface: Smooth, sealed concrete or hardwood will cause your fog to slide and disperse. A carpeted floor, grass, or a textured surface gives the cold fog something to cling to, helping it pool and linger.
- Air Temperature & HVAC: A cool room enhances the effect. A warm room will cause your fog to heat up and rise faster. Turn off ceiling fans and HVAC vents. If you can, slightly warm the upper part of the room with a space heater to create a thermal inversion that traps the cold fog low.
- Airflow Control: You want still air for pooling fog. For a rolling effect, use a small, low-speed fan placed on the floor to gently push the fog along. A high-speed fan will simply lift and shred it.
Ignoring the environment is why people blame their equipment. I set up a perfect dry ice chiller for an outdoor Halloween trail, only to watch a steady 5 mph breeze carry every wisp away instantly. We moved the setup behind a natural windbreak of shrubs, and the effect was transformed.
Professional Alternatives and When to Use Them
For some applications, a DIY chiller isn’t the right tool. Knowing the alternatives saves time and money.
Dedicated low-lying fog machines have a refrigeration unit built in. They are expensive, heavy, and require electrical outlets, but they produce consistent, controllable fog for hours without reloading ice. They are the standard for touring theater and concert productions.
Ultrasonic foggers are a different beast entirely. They use high-frequency vibrations to turn water into a cold mist. No heat, no fluid. They are silent, safe for indoor use, and naturally produce a low-lying fog. Their output is much lighter and less voluminous than a heated machine, making them ideal for small tabletop displays, model photography, or indoor haunted houses where ventilation is poor.
The choice comes down to scale and budget. For most DIYers wanting a one-night spectacular, the dry ice fogger models built into a cooler are the sweet spot.
Frequently Asked Questions
Can I use regular ice instead of dry ice?
Yes, but manage your expectations. Regular ice melts at 32°F (0°C), while dry ice sublimates at -109°F (-78°C). The temperature difference is massive. Regular ice will cool the fog, but the effect will be less dense, shorter-lasting, and you’ll be left with a cooler full of water to drain.
How long will 10 lbs of dry ice last in a chiller?
In a well-sealed 48-quart cooler chiller, 10 pounds of dry ice pellets will sublimate in about 30-45 minutes of continuous fog output. For a longer event, plan on 20-30 pounds per hour and have a reloading plan. Always buy it the day of your event.
Is low-lying fog safe to breathe?
Fog fluids designed for theatrical use are generally non-toxic and safe when used as directed in a well-ventilated area. However, the dense, low-lying fog can reduce visibility and create slippery surfaces. Always follow the fluid manufacturer’s safety guidelines and ensure paths are clear.
Why is my fog machine not working with the chiller?
Two likely culprits. First, a leak between the machine’s nozzle and the chiller inlet is letting warm fog escape. Seal it completely with tape. Second, the machine’s pump may not be strong enough to push fog through a long or restrictive chiller. Use the shortest, widest piping possible (like 4-inch PVC) to reduce backpressure.
Can I make my own low-lying fog juice?
While you can find glycerin-based fog fluid recipes online (mixing glycerin and distilled water), I don’t recommend it for low-lying effects. The consistency and droplet size are hard to control. Homemade juice can gum up your machine’s heating element and produce inconsistent fog that doesn’t chill properly. The cost savings aren’t worth ruining a machine.
The Bottom Line
Getting a fog machine to produce low-lying fog isn’t about magic. It’s about thermodynamics and a bit of DIY grit. Build a chiller, chill the fog, and it will sink. Use dry ice in a modified cooler for the serious, creeping-ground effect. Use a pipe packed with frozen bottles for a quick, room-sized solution. And never, ever skip the fast-dissipating fog fluid.
Your floor and the air in the room are part of the machine. Work with them. Now go build a chiller, test it, and watch that cloud roll.