The Complete Guide on How to Store a Fog Machine Correctly
This post contains affiliate links. As an Amazon Associate, we earn from qualifying purchases.
To store a fog machine correctly, clean it with a vinegar solution, flush it with distilled water, and ensure it is completely dry. Then, place it in a cool, dry location with a breathable cover. Priming the pump with fresh fluid before the final drain protects internal components.
Store your fog machine by first performing a complete cleanout with a vinegar solution and distilled water flush, then storing it bone-dry in a cool, dry place with a breathable cover. The tank must be empty, but the pump and heater benefit from a quick priming coat of fresh fluid before the final drain.
Most people ruin their machines in storage by doing one of two things. They either leave old fluid sitting in the tank, or they seal a damp unit in a plastic bag and forget it in a garage. The first mistake bakes mineral deposits into the heating coil. The second invites corrosion that silently eats the pump housing.
This guide walks through the exact cleaning sequence, settles the debate on leaving fluid in the lines, and maps out the storage environment that actually works. You will also get a timeline for checking on a stored machine and the steps to revive one that has been sitting too long.
Key Takeaways
- Never store a fog machine with fog fluid in the tank. Residual fluid degrades, leaves sticky residue, and promotes corrosion inside the pump and heater.
- The pre-storage cleanout is non-negotiable. Use a 50/50 distilled vinegar and distilled water solution to dissolve mineral scale, followed by a pure distilled water flush.
- Prime the internal lines with fresh fluid for 10 seconds before the final drain. This leaves a protective micro-coat on the pump and heater elements without leaving liquid to stagnate.
- The storage environment must be cool, dry, and stable. Attics, garages, and damp basements guarantee premature failure due to temperature swings and humidity.
- Perform a brief test run every 2-3 months during long-term storage. This cycles the pump, prevents seals from drying out, and confirms the unit is still operational.
Why Storage Wrecks More Fog Machines Than Use
Fog machines are built to run. The pump moves fluid, the heater vaporizes it, and the fan pushes out the cloud. Storing one is an unnatural state. Without the regular flow of fluid, the internal components that were designed to be wet and active are now static. Any residue left behind becomes a permanent fixture.
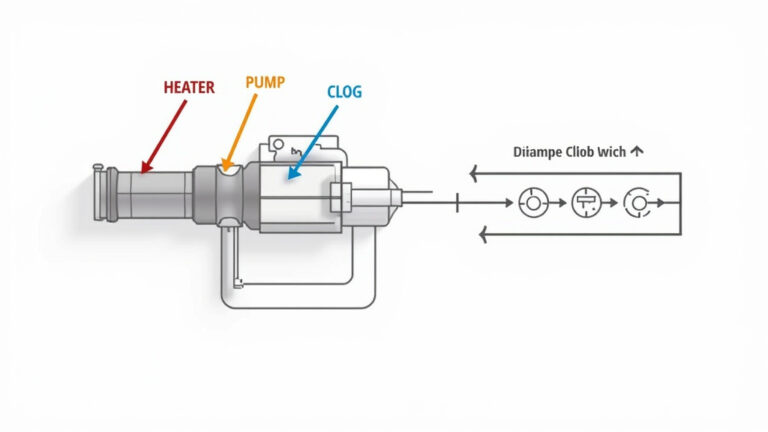
The heater block is the most vulnerable part. It operates at temperatures high enough to instantly vaporize water-based fluid. When you shut it off with fluid still in the lines, that final bit of liquid cooks onto the element as it cools. This creates a thin, hard layer of carbonized gunk. After a few storage cycles, the layer builds up. The heater must then work harder to reach temperature, often overheating and failing. The pump faces a different enemy: crystallization. As fluid evaporates in the pump housing or tubing, it leaves behind glycol and mineral crystals. These crystals are abrasive. The next time the pump spins up, it grinds these crystals against its own plastic or metal components.
Common mistake: Storing a machine with tap water in the lines after cleaning — the minerals in tap water deposit directly onto the heating element during evaporation, creating an insulating scale layer that causes the heater to overheat and burn out within the next 5-10 uses.
The goal of proper storage is to simulate a neutral, preserved state. You are not just putting a box on a shelf. You are chemically and physically preparing a precision instrument for hibernation.
TL;DR: Inactivity amplifies small residues into major failures. Storage prep removes the residues that use creates.
The 5-Step Pre-Storage Cleanout (What to Do After the Last Show)
This is the core ritual. Skipping a step here is how you guarantee a repair bill. The sequence is designed to remove active fluid, dissolve existing mineral deposits, rinse away the cleaning agent, and finally protect the internal components.
Before you start: Unplug the machine and allow it to cool completely for at least 30 minutes. The heater block and fluid lines remain scalding hot after use. Working on a warm machine can warp plastic components and poses a burn risk.
Step 1: Total Fluid Evacuation
Begin with a completely dry tank. Pour any remaining fog fluid back into its original container if it’s fresh, or dispose of it properly. Do not pour it down the drain. Tilt the machine to drain the feed tube. Use a clean, lint-free cloth dampened with a little distilled water to wipe the tank interior. You are removing the final film of fluid. Leaving even a tablespoon of fluid in the tank is the single biggest storage error. That fluid will slowly evaporate over weeks, concentrating its ingredients and leaving a varnish-like residue.
Step 2: The Vinegar Descaling Run
This step tackles the invisible enemy: limescale and mineral deposits from previous fluids. Mix a solution of 50% distilled white vinegar and 50% distilled water. Never use tap water. Fill the clean, dry tank about a quarter full with this solution.
The acetic acid in distilled vinegar is a weak organic acid that dissolves calcium and magnesium carbonate (limescale) without damaging the metal heater block or plastic pump components. Commercial fog machine cleaners often use a similar, buffered acid formula.
Plug in the machine and run it in a well-ventilated area until the tank is empty and the output is clear vapor. You might see some sputtering at first. That is normal. The vinegar solution is breaking up scale in the heating chamber and pushing it out.
Step 3: The Distilled Water Flush
This step is critical. You must remove all vinegar from the system. Vinegar left inside will slowly corrode metal parts over months of storage. Immediately after the vinegar run, fill the tank with pure distilled water. Run the machine again until the tank is empty. This flushes the acidic solution completely from the pump, lines, and heater. The output should be pure, odorless steam.
Step 4: The Protective Prime (The “Fluid in Lines” Answer)
Here is where advice diverges. Some manuals say store dry, others suggest leaving fluid in the lines. Both are wrong in isolation. The correct method is a priming coat.
Add a small amount of fresh, high-quality fog fluid to the tank—about enough for a 10-15 second burst. Run the machine. This coats the internal pump seals and the interior of the heater block with a thin layer of fresh fluid. This layer prevents the rubber seals from drying out and cracking, and it stops oxidation on the metal heater. Then, drain the tank completely again. You are not storing with fluid; you are storing a machine coated by fluid. The difference prevents stagnation while providing protection.
Step 5: Exterior Dry and Prep
Unplug the machine. Wipe the entire exterior with a dry cloth to remove dust, fingerprints, and any moisture. Pay attention to the fan grille and the fluid fill port. Let the machine sit for 10 minutes to ensure any internal moisture from the flush has evaporated. It is now chemically neutral and ready for storage.
The Real Storage Environment: More Than Just a Shelf
Where you place the machine matters as much as how you clean it. The ideal environment is boringly stable.
| Storage Factor | Ideal Condition | What Happens If Wrong |
|---|---|---|
| Temperature | Consistent 60-75°F (15-24°C) | Extreme heat degrades plastic and rubber. Extreme cold makes plastics brittle and can crack pump housings. |
| Humidity | 40-50% Relative Humidity | High humidity (>60%) promotes corrosion on electrical contacts and metal parts. Low humidity (<30%) can dry out and crack rubber pump seals. |
| Light | Dark or low light | Direct UV light from sunlight breaks down plastic housings, making them yellow and brittle over time. |
| Ventilation | Well-ventilated, airy space | Stagnant, dusty air clogs fan intakes and coats internal electronics. A musty environment promotes mold. |
| Position | Upright, on a stable shelf | Storing on its side or inverted can put stress on internal tubing and pump mounts, leading to leaks or misalignment. |
A climate-controlled closet inside your home is perfect. A garage is terrible—it experiences daily and seasonal temperature swings, often has high humidity, and accumulates dust and fumes. A damp basement is a corrosion incubator. If you must use a basement or garage, place the machine inside a sealed plastic storage tote with a handful of silica gel desiccant packs. Check the packs every few months; they will saturate with moisture and need replacing.
I stored an older Chauvet hazer in a sealed flight case in an uninsulated garage over a Chicago winter. By spring, the temperature swings had caused condensation inside the case. The pump motor’s terminals developed a fine green corrosion crust, and the unit was dead on arrival for the first spring gig. The repair cost matched the original price of the machine.
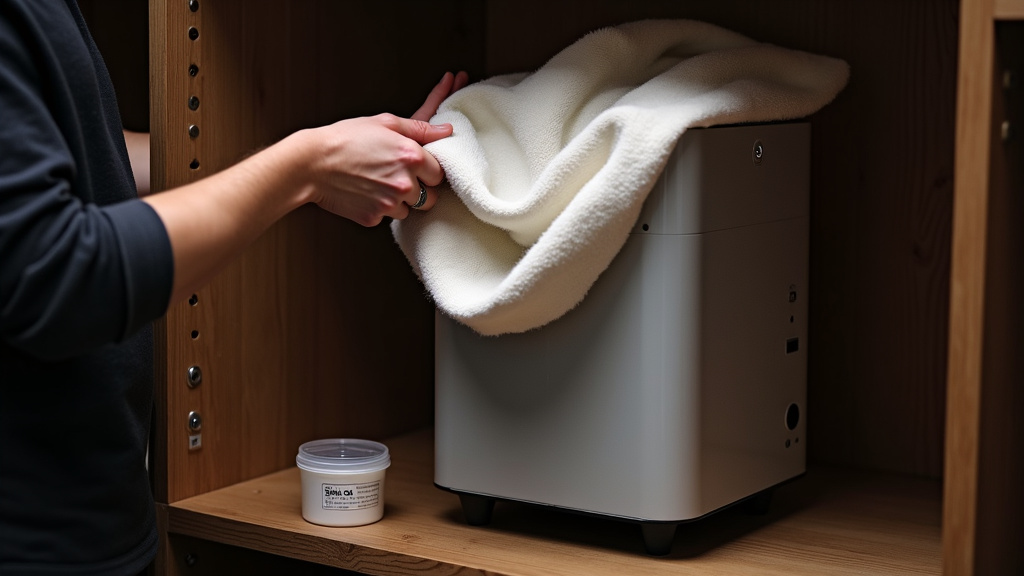
Cover the machine with a breathable cotton sheet or a dedicated canvas dust cover. Do not use a plastic bag. Plastic traps any residual moisture against the machine, creating a mini greenhouse effect that speeds up corrosion and mold growth.
TL;DR: Store it like a musical instrument, not a garden hose. Consistent, dry, and dark wins.
The Quarterly Checkup for Long-Term Storage

You cannot just forget it for a year. A stored machine needs a brief visit every 60-90 days. This five-minute check prevents the “out of sight, out of mind” failure.
- Visual Inspection: Remove the cover. Look for any signs of pests, new dust buildup, or moisture on or near the machine.
- Sniff Test: Smell the air around the unit. A musty or acidic smell indicates moisture or internal corrosion.
- The Wake-Up Run: This is the most important step. Perform a quick operational test.
- Ensure the tank is dry and clean.
- Add a small amount of distilled water to the tank (no fluid needed).
- Plug the machine in and let it heat up fully.
- Run it for 20-30 seconds until it produces steam.
- Unplug it and drain the tank completely.
This test run serves two vital functions. It cycles the pump, keeping the seals supple and preventing them from taking a permanent set. It also burns off any microscopic moisture that may have accumulated on the heating element. Think of it as turning over a classic car’s engine.
If the machine hesitates, makes a new grinding noise, or fails to produce vapor, you have caught a problem early. You can now begin post-storage troubleshooting before you are under pressure for an event.
Fog Machine Fluid and Storage: A Critical Link
The quality and type of fluid you use directly impacts how well your machine survives storage. Thick, sugary, or low-quality fluids leave more residue behind. This residue is what bakes onto your heater and clogs your pump during storage.
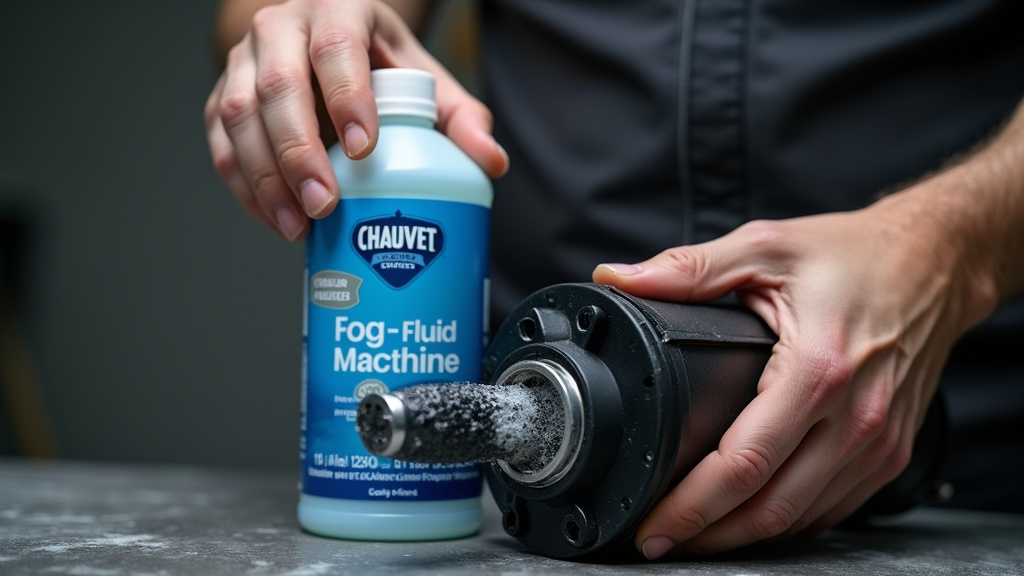
Always use the fluid type recommended by your machine’s manufacturer. High-quality, name-brand fluids from companies like Chauvet, Froggys, or Rosco use purer glycols and leave minimal residue. They are formulated to vaporize cleanly. Before storage, consider the fluid shelf life. Using fluid that is already degrading will leave acidic byproducts in your machine.
Common mistake: Using a different, cheaper brand of fluid for the “last show” before storage — inconsistent fluid formulas can react with previous residues, creating a gel-like clog in the pump head that is nearly impossible to clear without disassembly.
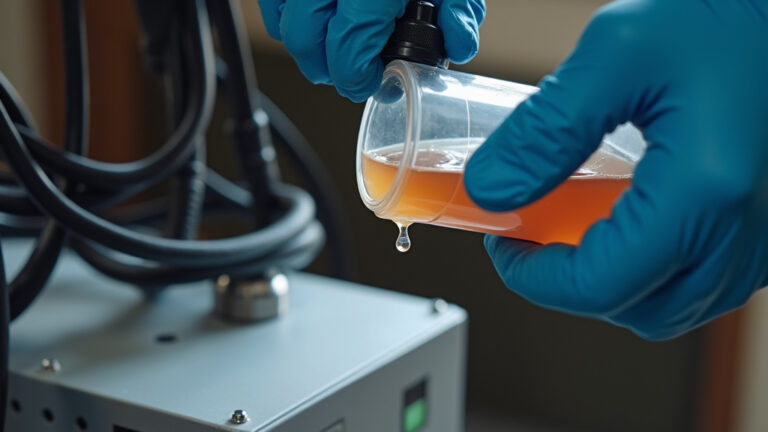
For the protective priming step in your cleanout, it is especially important to use fresh, high-quality fluid. This is not the time to use the dregs of an old bottle. The optimal storage fluid is one you trust for performance, as its clean formulation will provide the best protective coating.
Reviving a Fog Machine After Poor Storage
Maybe you inherited a machine, or you are confronting your own past neglect. All is not lost. A machine that has been stored poorly can often be revived with patience.
First, do not add fog fluid and try to run it. That will likely make things worse. Start with a mechanical inspection. Look for obvious corrosion on the power plug and any metal fittings. Check the fluid tank for mold or a sticky film. If the pump is visibly seized, it will likely need replacement.
Your first attempt should be an aggressive cleaning. Follow the standard 5-step cleanout, but you may need to let the vinegar solution sit in the tank for 30 minutes before running it. You can also run the vinegar cycle twice. If the machine still will not pump or heat, the issue is likely a failed pump or a scaled heater block. At this point, you are looking at repairs from improper storage, which may involve component replacement.
The success rate depends on how long the neglect lasted and the storage environment. A machine stored wet in a garage for two years is often a total loss. One stored dry but dirty in a closet for one year has a high recovery chance.
Frequently Asked Questions
Can I just unplug it and put it away after a party?
No. Running a fog machine leaves fluid in the lines, pump, and heater. Storing it without cleaning bakes that residue into a clog. Always perform the full cleanout before storage.
Is it okay to store my fog machine in the original box?
Yes, the original box is excellent storage, but only after the machine is cleaned and completely dry. The box provides physical protection and blocks light. Do not seal it with tape; allow for some air circulation.
How often should I do a test run during storage?
Every 60 to 90 days is sufficient. The goal is to cycle the mechanics periodically without introducing new fluid residue. Use distilled water for these test runs.
What’s the white powder forming on my stored machine?
That is mineral residue from fluid or, more likely, from using tap water in the cleaning process. It is hygroscopic, meaning it attracts moisture from the air, which can lead to corrosion. Wipe it off with a damp (distilled water) cloth and ensure your future cleanouts use only distilled water.
My fog machine has a removable fluid bottle. Do I store it attached or separate?
Store it separately. Clean the bottle with the same vinegar and distilled water process, let it air dry completely, and then store it detached from the machine. This prevents any slow leaks from the connection and allows for better air circulation.
Before You Go
Storing a fog machine correctly is a straightforward process of chemical neutralization and environmental control. The mandatory steps are emptying the tank, descaling with vinegar, flushing with distilled water, and applying a protective prime. The storage location must be cool, dry, and dark.
This routine adds 20 minutes to your post-event breakdown. It saves you hundreds in repairs and the frustration of a dead machine when you need it most. Treat the storage process as the final, crucial step of using the machine. Your future self, prepping for the next big event, will thank you.