7 Expert Ways to Make the Most Out of Your Karaoke Machine
This post contains affiliate links. As an Amazon Associate, we earn from qualifying purchases.
To make the most out of your karaoke machine, master three core principles: perfect your audio setup, strategically manage your song flow, and craft an immersive performance environment. This transforms a basic machine into a professional-feeling home stage, ensuring clear sound, sustained energy, and a memorable experience for everyone.
To make the most out of your karaoke machine, you need to master three core areas: flawless audio setup, intelligent song management, and creating a performance-worthy atmosphere. This means connecting everything correctly to eliminate technical hiccups, curating a song list that keeps energy high, and using lighting or effects to transform your living room into a stage. A machine is just a box of circuits until you apply these principles.
Most people plug in the mics, crank the volume, and wonder why the vocals sound muddy or the party fizzles after three songs. They blame the machine. The real problem is skipping the five-minute sound check and not planning the song flow.
This guide walks through the exact steps, from the critical first cable connection to the final encore. You’ll learn how to balance sound like a roadie, pick songs that get everyone singing, and host a night people ask you to repeat.
Key Takeaways
- Audio setup is everything. A misplaced speaker causes feedback; incorrect cable connections create audio lag or hum. Test every connection and level before the party starts.
- Microphone technique is non-negotiable. Hold the mic 2-3 inches from your mouth at a 45-degree angle. Cupping the grille or shouting directly into it distorts the sound and can damage the speaker.
- Organize your songs strategically. A single, massive alphabetical list kills momentum. Create themed playlists (80s hits, group singalongs, power ballads) to match the party’s energy curve.
- Effects are seasoning, not the main course. Use vocal reverb and echo sparingly. Too much effect hides your voice and makes lyrics unintelligible, especially on fast songs.
- The host makes the party. Your energy is contagious. Warm up your own voice, duet with shy guests, and keep the queue moving. A confident, engaged host is more valuable than the most expensive machine.
What Does “Making the Most” of a Karaoke Machine Actually Mean?
It means moving from simply hearing music to creating an experience. Your machine’s job is to be invisible, reliable, clear, and intuitive. Your job is to be the director. This starts with understanding your gear’s full potential, not just its power button.
A modern karaoke machine integrates a media player, a basic audio mixer, and an amplifier. Its core function is to play a backing track (minus the lead vocal), amplify one or more microphones, and blend those signals into a single, balanced output for your speakers, all while displaying synchronized lyrics.
I learned this the hard way with my first all-in-one unit. I plugged it in, picked a song, and sang. The music drowned me out. I turned up the mic, and feedback screeched. I turned on every voice effect, and I sounded like a robot singing in a sewer. The machine was capable, but I was using it wrong. Making the most of it is about deliberate control, not default settings.
TL;DR: Your machine is a tool for controlled sound reinforcement and lyric display. “Making the most” means taking control of every variable it offers.
The Non-Negotiable Setup: Cables, Connections, and Sound
You cannot perform around technical problems. The first 30 minutes of setup dictate the entire night. This isn’t just about plugging things in; it’s about signal path and prevention.
The 5-Step Pre-Party Sound Check (No One Does Step 3)
Do this alone, before anyone arrives. Use a song you know well.
- Connect Sources Correctly. If your machine has HDMI-out, use it for lyrics to your TV. For audio to a better speaker, use the dedicated AUDIO OUT or HEADPHONE jack. If your TV’s audio is delayed, you may need an optical to RCA converter to pull audio directly from the TV’s digital port. Skipping this causes the lyrics and music to drift apart, which is disorienting for singers.
- Set Initial Levels. With no music playing, turn the master volume and mic volumes to 12 o’clock. Have someone talk into a mic while you slowly raise the master volume to a comfortable room-filling level. Then adjust the mic volume so the voice sits clearly on top.
- Test with a Song and Walk the Room. This is the skipped step. Play a song and sing into the mic. Walk to every corner where guests might stand or sit. Listen for dead spots where the sound drops out or hot spots where it’s too loud. Reposition your speakers if needed.
- Check for and Kill Feedback. Slowly raise the mic volume until you hear a faint ring or squeal. Then back it off slightly. This is your maximum safe gain before feedback. Mark that position on the dial with a bit of tape.
- Verify All Inputs and Mics. Test every microphone, every input jack (Bluetooth, USB, AUX). A dead mic discovered mid-party is a momentum killer.
Common mistake: Plugging speakers into the wrong output on the machine, using a “video out” jack for audio will give you silence or horrible noise. Always use the jacks labeled for audio or headphones.
Speaker and Mic Placement: The Feedback Avoidance Chart
Feedback happens when the microphone hears itself from the speaker and creates a loop. Placement is your first defense.
| Placement Scenario | Risk Level | Pro Fix |
|---|---|---|
| Microphone directly in front of, and pointing at, the main speaker. | Guaranteed Feedback | Never do this. Place speakers forward and to the sides of the singing area, pointing inward. Keep mics behind the speaker’s front plane. |
| Singer stands between two speakers, mic facing one. | High Risk | Angle the speakers slightly away from each other. Instruct singers to face forward, not directly into a speaker box. |
| Speakers on the same surface as the machine (vibration coupling). | Medium Risk (causes hum/rattle) | Isolate speakers on separate stands or foam pads. Vibration through the floor can shake loose connections inside the machine. |
| Wireless mic receiver placed on top of or behind a metal speaker. | Signal Dropout Risk | Metal blocks RF. Place the receiver on a separate surface, line-of-sight to where singers will be, with its antenna fully extended. |
TL;DR: Run a full sound check, walk the room, and position speakers ahead of mics. This 15-minute ritual prevents 95% of technical issues.
Mastering the Microphone and Mixer
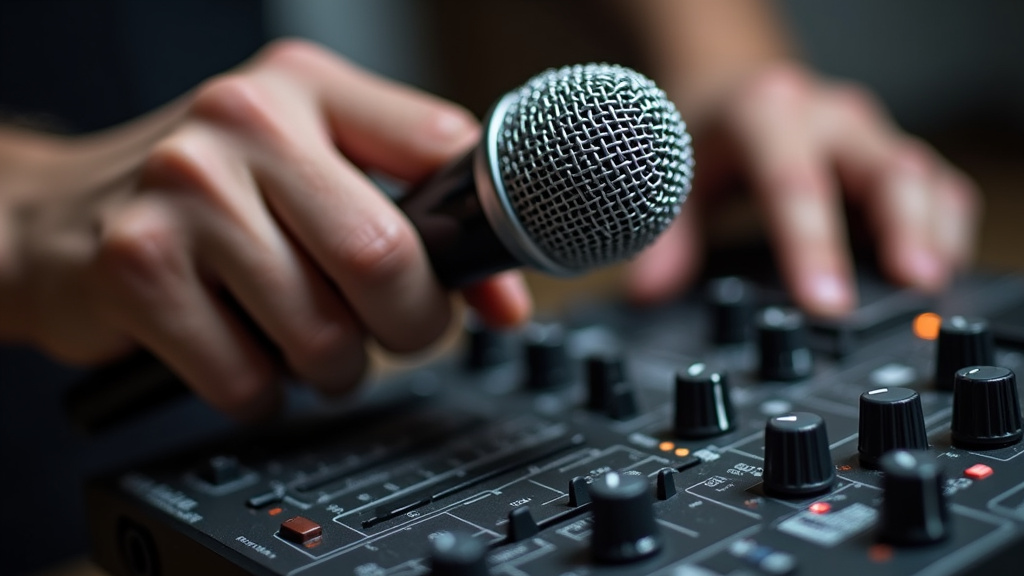
Your voice is the lead instrument. The machine’s mixer section is how you balance it with the band.
How to Hold a Mic (It’s Not a Hammer)
Grip the shaft, not the grille. Your hand should be in the lower third of the microphone body. Hold it steady 2 to 3 inches from your mouth. Tilt it at a 45-degree angle toward your chin, not straight into your mouth. This reduces “plosives”, the explosive “p” and “b” sounds that cause loud pops.
When you need to belt a loud note, pull the mic back to 6 inches. For a soft, intimate phrase, bring it closer to 1 inch. This technique, called “working the mic,” keeps your volume consistent in the system and prevents distortion. Cupping the entire grille with your hand mutes the high frequencies and makes you sound like you’re singing from inside a tin can.
I used to death-grip the mic head, wondering why my voice lacked clarity. A sound engineer at a local show pointed it out. “You’re smothering it.” Moving my hand down the barrel was a free upgrade in vocal presence.
Simple Mixer Settings for Pro Sound
Even basic machines have a few knobs. Here’s what they actually do:
- Microphone Volume: Sets how loud you are. Start at 12 o’clock and adjust up until you are clearly louder than the backing track, but stop before feedback rings.
- Music Volume: Sets how loud the backing track is. The music should be a supportive bed, not a wall. A good rule is to set it so you can hold a conversation over the music, then let the mic volume rise above that.
- Echo/Reverb: Adds a sense of space. A tiny amount (one or two “clicks” on from zero) makes a dry voice sound more natural in a room. Turning it past 25% makes the lyrics slur and drowns your actual performance. Use it like salt.
- Treble & Bass (if present): Treble adjusts “brightness” or “crispness.” Bass adds “warmth” or “thump.” If vocals sound muffled, nudge treble up slightly. If the music is boomy and overwhelming, reduce the bass.
For a detailed look at machines with great built-in mixers, our expert karaoke machine reviews break down the controls on specific models.
Building the Ultimate Karaoke Song List
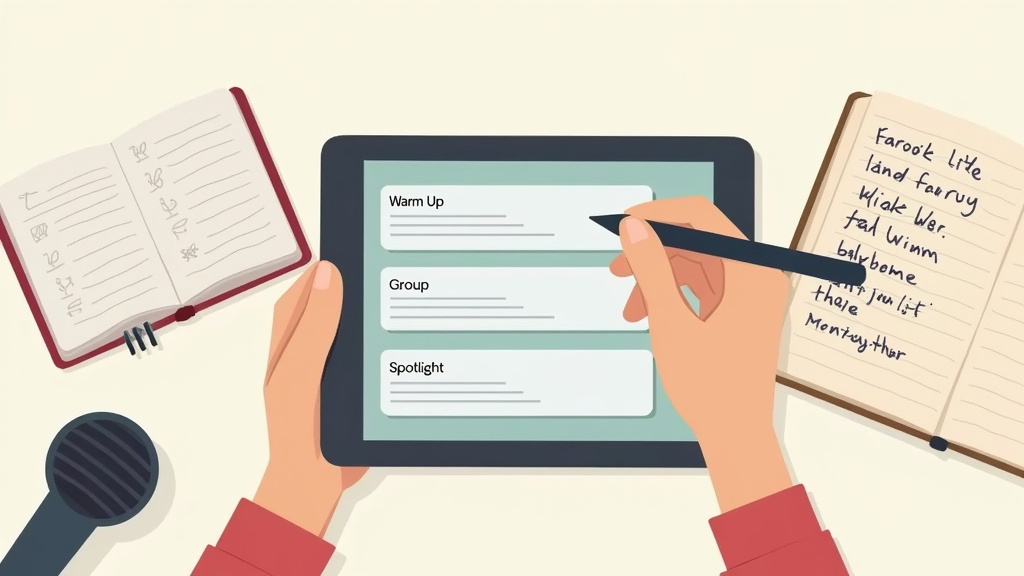
The right song at the right time turns observers into participants. Your list needs structure.
The 4-Playlist Party System
Don’t rely on one massive queue. Create these four separate lists in your karaoke app or streaming service:
- The Warm-Up List (First 30 minutes): Upbeat, familiar, mid-range songs. Think “Sweet Caroline,” “Livin’ on a Prayer,” “Don’t Stop Believin’.” The goal is easy singalongs that break the ice. This is not the time for obscure ballads.
- The Group List (Peak Energy): Songs with obvious call-and-response or gang vocals. “Bohemian Rhapsody,” “I Will Survive,” “Hey Jude.” Print the lyrics or put them on the big screen to get the whole room involved.
- The Spotlight List (For Your “Performers”): This is where your divas and rockers can shine with solos. Curate this based on who you know is coming. Have a power ballad and an upbeat pop number ready for them.
- The Wind-Down List (Last 45 minutes): Lower-energy, nostalgic, or funny songs. “Piano Man,” “Wonderwall,” “Baby Got Back.” It maintains engagement as energy naturally dips.
Using a dedicated service like YouTube with karaoke tracks or a subscription app (like Singa, Karafun) is far better than searching YouTube manually mid-party. The audio quality is consistent, and the lyrics are professionally synced.
The Host’s Secret Weapon: The Physical Queue
A tablet or notebook with a written list is king. When someone picks a song, write their name and the song title. This serves two purposes: it gives the singer time to mentally prepare, and it lets you, the host, see what’s coming next. You can subtly reorder things if needed, “Okay, we’ve had two slow ones, let’s kick it up next!” This control is what separates a chaotic shout-fest from a curated event.
TL;DR: Structure your night with themed playlists and manage a physical queue. This controls pacing and ensures a mix of energies.
Elevating the Experience: Atmosphere and Hosting
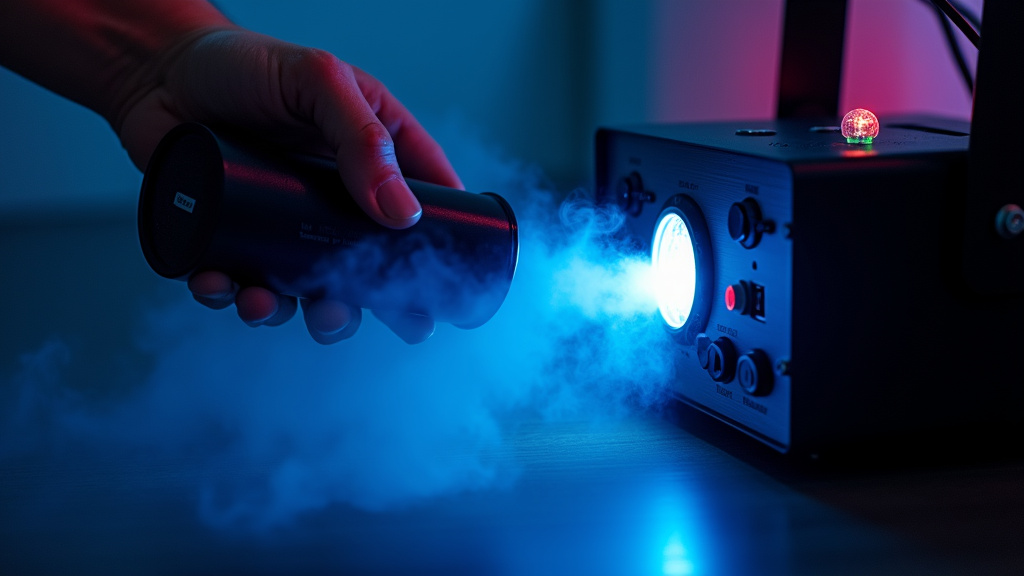
The final layer is transforming the space from a living room to a venue. This is where accessories and your own energy multiply the machine’s value.
Lighting and Effects
You don’t need a disco ball. A single smart bulb (like a Philips Hue) set to a slow color cycle adds a professional vibe. Even better are cheap LED party lights that plug into a USB port on your machine and sync to the music’s beat. The key is subtlety, you want to enhance the mood, not create a strobe light seizure hazard.
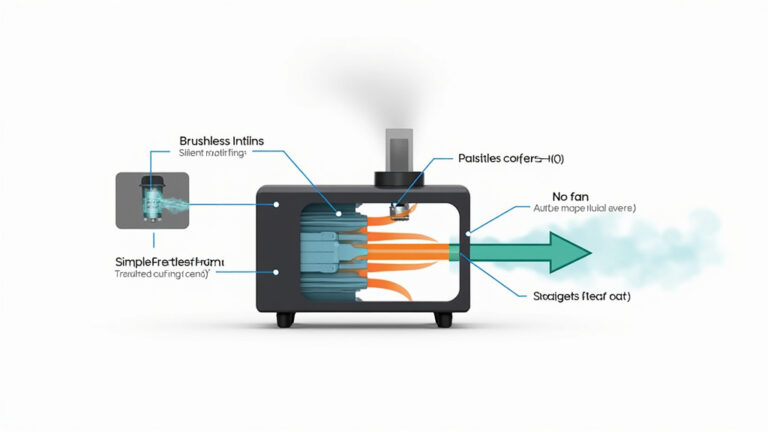
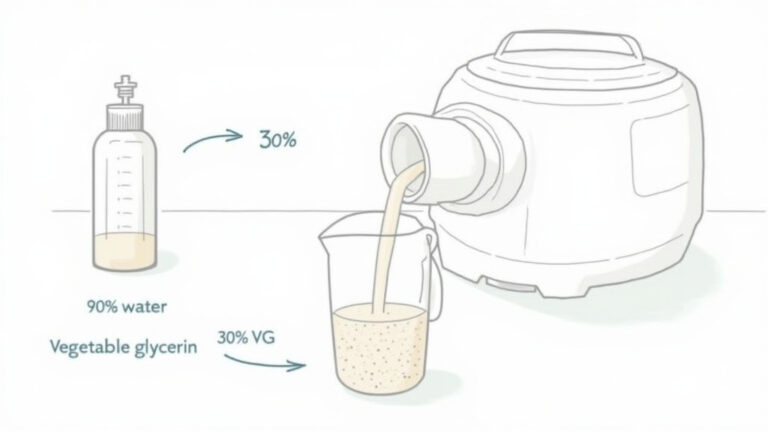
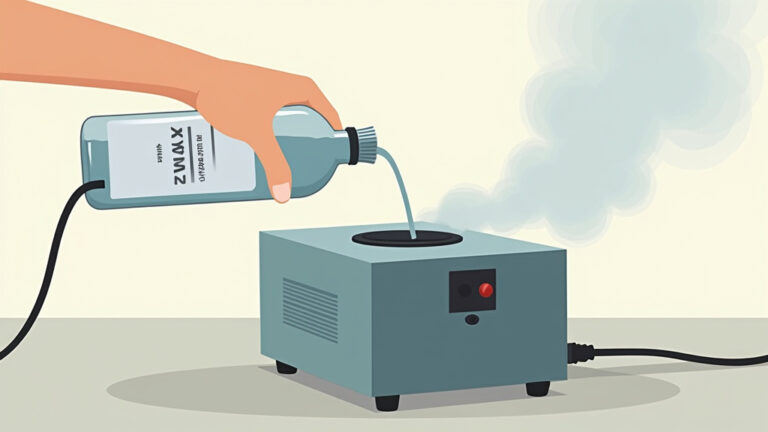
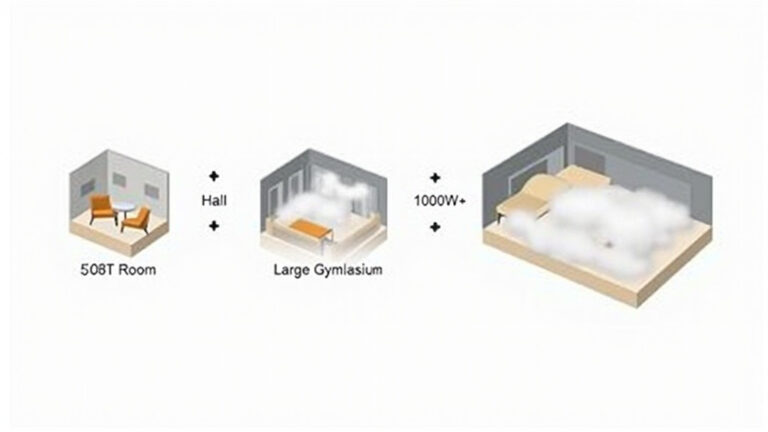
For a dramatic entrance or chorus hit, a fog machine is the ultimate effect. A short, one-second burst during the intro of a song like “Billie Jean” or “Thriller” gets a huge reaction. It’s critical to understand fog machine safety considerations and use the right fluid. Always test it before the party to ensure it works and doesn’t set off smoke alarms. For help choosing, our comprehensive fog machine guide covers everything from small room units to powerful models.
Common mistake: Using a fog machine in a small, unventilated room, the fog lingers for 20 minutes, obscuring the lyric screen and making the room feel damp. Use it sparingly and near an air return vent or cracked window.
The Host’s Mindset
Your primary role is energy conductor and confidence booster. Warm up your own voice with some lip trills and scales before guests arrive, you’ll likely sing first to break the ice. When someone is struggling, jump in for a duet. If a song is bombing, have a playful “hook” signal to cut it short. Keep the queue moving; if someone is taking forever to pick, give them a friendly nudge or offer two suggestions.
A great host with a basic machine will always outshine a mediocre host with the most expensive Karaoke USA GF839. Your enthusiasm is the most powerful piece of equipment in the room.
Troubleshooting Common Karaoke Machine Issues
When something goes wrong, you need a fix, not a theory.
| Symptom | Most Likely Cause | Immediate Action |
|---|---|---|
| No sound from speakers | Wrong output selected; cables loose; volume down. | Check machine is set to “external speaker” mode, not “TV speaker.” Re-seat all audio cables. Follow the signal path from source to speaker. |
| Audio is out of sync (lyrics lag) | TV audio processing delay. | Bypass the TV for sound. Use the machine’s audio outputs to your speakers directly, and use the TV for video/lyrics only. If you must use TV audio, enable “Game Mode” on the TV to reduce processing lag. |
| Constant humming or buzzing | Ground loop or poor-quality cable. | Ensure all devices are plugged into the same power strip. Try a different, shielded audio cable. A ground loop isolator (a small inline adapter) can fix this permanently. |
| Microphone crackles or cuts out (wireless) | Low batteries; RF interference. | Replace all batteries with fresh ones. Move the wireless receiver away from routers, cordless phones, or large metal objects. |
| Voice sounds thin or muffled | Microphone held incorrectly; EQ settings. | Check mic technique (distance, angle). On the mixer, slightly increase the treble. Ensure you’re not cupping the mic grille. |
If you’re considering an upgrade to a system designed to minimize these issues, a wireless karaoke microphone system can eliminate cable hum and tangles. For a robust all-in-one solution, the Singsation karaoke machine has a reputation for reliable connectivity and clear sound processing.
TL;DR: Most audio issues are loose cables, wrong settings, or interference. Work through the signal chain logically, from source to speaker.
Frequently Asked Questions
What’s the single biggest mistake beginners make with their karaoke machine?
They max out the echo or reverb effect. It feels fun in the moment, but it turns your vocal into an indistinct wash of sound. The backing track and lyrics get buried. Start with the effect at zero, get your levels right, then add just a touch until your voice has a little “room” around it, no more.
Can I use my karaoke machine without a TV?
Absolutely. Many portable machines have built-in screens. For others, you can use a tablet or laptop placed near the singer to display lyrics from a karaoke app or YouTube. The audio still comes from the machine. This is perfect for backyard karaoke or spaces without a TV.
How do I get the best sound from a basic machine?
Pair it with a better external speaker. The small speakers built into all-in-one units are the weakest link. Using the machine’s audio output to connect to a quality powered speaker (like a PA speaker or even a good Bluetooth speaker with an AUX input) is the most impactful audio upgrade you can make, short of buying a new machine.
My machine has Bluetooth. Is it better to stream music wirelessly?
It’s more convenient, but it can introduce problems. Bluetooth can have slight audio delay (latency), causing lyrics to drift. It’s also prone to interference if many phones are nearby. For the most reliable sync, use a direct connection like USB or AUX cable. Use Bluetooth for convenience during casual practice, but switch to a wired source for the main event.
How do I clean and maintain my microphones?
Wipe down the metal grille with a cloth lightly dampened with rubbing alcohol to remove saliva and oils. Never submerge the mic. For wired mics, avoid pulling on the cable, always grasp the plug, not the wire. Store mics and cables loosely coiled, not tightly wound, to prevent internal wire breakage. This basic care, similar to maintaining your fog machine, extends the life of your gear significantly.
The Bottom Line
Making the most of your karaoke machine isn’t about buying more gear. It’s about using what you have with intention. It’s the discipline of the pre-party sound check, the strategy of the curated playlist, and the generosity of a confident host. A machine like the Karaoke USA GF842 has fantastic features, but they’re useless without these fundamentals.
Start with your next gathering. Run the full sound check. Build just one themed playlist. Hold the mic correctly. You’ll feel the difference immediately, the sound is clearer, the energy lasts longer, and the focus shifts from the technology to the shared experience of singing together. That’s the real goal, and your machine is just the tool that gets you there.