How to Use a Fog Machine: Setup, Effects, and Safety
This post contains affiliate links. As an Amazon Associate, we earn from qualifying purchases.
To use a fog machine, match three things: the machine type to your desired effect, the correct manufacturer-approved fluid, and the machine’s placement to the room’s airflow. The process requires a warm-up period, controlled output bursts, and a strict cool-down and cleaning routine to ensure safety and prevent damage.
To use a fog machine, you match three things: the machine type to the visual effect you want, the correct manufacturer-approved fluid to the machine, and the machine’s placement to the room’s airflow or outdoor wind. The process involves a mandatory warm-up period, controlled output bursts, and a strict cool-down and cleaning routine to prevent damage.
Most guides make it sound like you just plug it in and hit a button. They skip the part where you blow a dense cloud directly into a moving light’s intake fan because you didn’t account for airflow, or where the machine seizes because you used bargain-bin fluid. The difference between amateur haze and pro-level atmosphere is a sequence of non-negotiable steps.
This guide walks through choosing the right machine, the seven-step setup that actually works, how to pair it with lighting for those iconic beams, and the maintenance that keeps it running past its first gig.
Key Takeaways
- Fluid is non-negotiable. Only use the fog fluid specified for your machine’s type (standard fog, haze, or low-lying). Using the wrong fluid or plain water will clog the heating element, often permanently.
- Warm-up and cool-down are mandatory. A 1000W machine needs 5-8 minutes to heat. After use, let it cool for 30-45 minutes before moving or storing it to prevent internal damage and burns.
- Placement dictates dispersion. Hide the machine but point its output in line with the room’s natural air currents (from HVAC vents) or the wind outdoors. A fan placed half a meter behind it can help spread haze evenly.
- Fog exposes light, haze defines it. Use a standard fog machine for thick, dramatic bursts that dissipate quickly. Use a haze machine for a fine, lingering mist that makes light beams visible for minutes.
- Clean the nozzle every time. After the machine cools, wipe the output nozzle and tank opening with a damp cloth. Residue left here hardens and becomes the clog you’ll need white vinegar to remove.
The Three Machine Types and Their One Job
Head design changes the entire process. A standard fog machine, a haze machine, and a low-lying fogger are built for three different effects. Using one for another’s job gives you weak results and can break the unit.
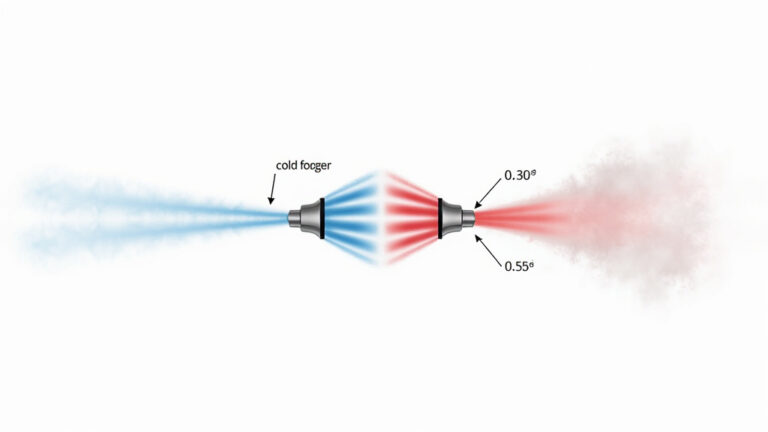
A standard fog machine heats a water-glycol fluid into a thick, white vapor. It’s for moments, a dramatic entrance, a chorus hit, a burst across a dance floor. The output is dense but dissipates in 30 to 60 seconds. A haze machine uses a finer fluid and a different pump mechanism to produce an almost invisible mist. This mist hangs in the air for minutes, sometimes hours, and its only job is to catch light. It’s for continuous atmosphere during a concert or theatrical scene. A low-lying fog machine either chills standard fog or uses dry ice to create a dense cloud that rolls and stays near the ground, perfect for a wedding first dance or a creepy dungeon scene.
The heating element in a standard 1000W fog machine operates at approximately 200°C to vaporize the fluid mix. This temperature is why warm-up is non-negotiable and why the wrong fluid carbonizes on contact, creating a clog that reduces output by half on the next use.
Common mistake: Using a standard fog machine for continuous atmospheric haze, the pump overheats, the fluid consumption skyrockets, and you’ll burn through a liter in under an hour while filling the room with a wet, heavy mist.
TL;DR: Pick standard fog for bursts, haze for continuous light beams, low-lying fog for ground effects. They are not interchangeable.
The Non-Negotiables: Fluid, Power, and Certifications
Your machine’s manual lists a specific fluid type. This is not a suggestion. Standard fog fluid is typically a mix of distilled water and glycol. Haze fluid uses a different chemical base for particle size and hang time. Low-lying fog fluid often includes an anti-freeze agent. The chemistry matters. Pouring haze fluid into a standard fogger will at best produce weak output, and at worst leave a gummy residue inside the pump that requires a full teardown.
Power ratings tell you about appetite and reach. A 400W machine is for a small bedroom party. A 1000W-1500W unit can handle a club stage or large living room. For a theater or outdoor area, you look at 2000W and above. More watts means faster warm-up, thicker output, and the ability to refill the atmosphere quickly. It also means a bigger thirst for fluid, a 1000W machine can go through a liter in two hours of active use.
Look for safety certifications on the label or spec sheet: CE (European conformity), FCC (radio frequency compliance), and RoHS (restriction of hazardous substances). These are your indicators that the unit meets basic electrical safety standards. They don’t guarantee immortality, but their absence is a red flag.
| Machine Type | Best For | Fluid Type | Key Limitation |
|---|---|---|---|
| Standard Fog (400-1500W) | Dramatic bursts, Halloween, DJ effects | Water-Glycol Fog Fluid | Not for continuous operation; output dissipates quickly |
| Haze Machine | Concerts, theater, permanent installation | Low-Density Haze Fluid | Creates atmosphere, not “smoke”; higher initial cost |
| Low-Lying Fogger | Ground effects, weddings, haunted houses | Chilled Fog Fluid or Dry Ice | Requires chilling unit or dry ice supply; effect is very localized |
The Core Setup Process in 7 Steps
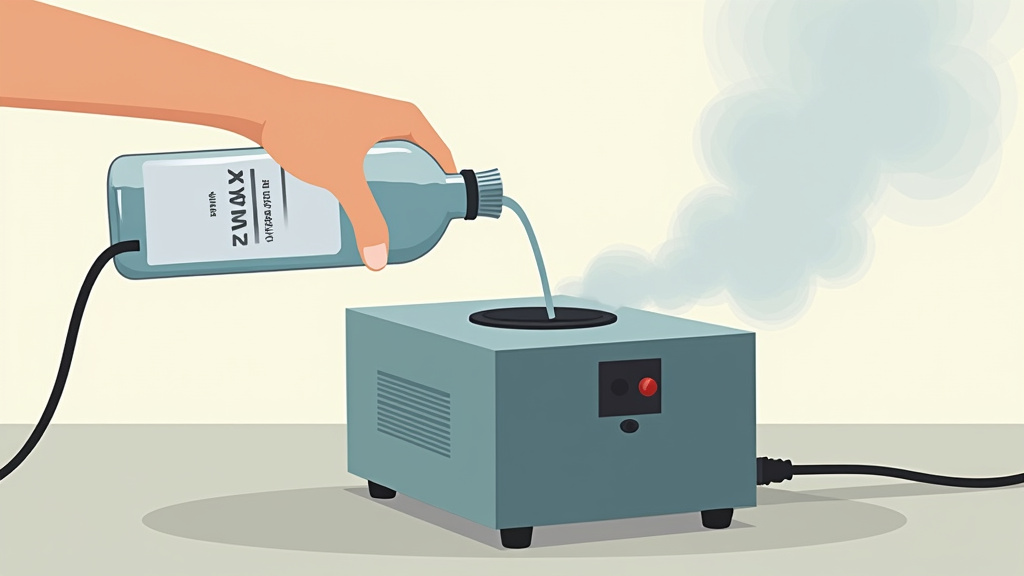
Plugging it in is step three. The first two steps happen at the planning stage.
Step 1: Scout the location. Indoors, feel for air conditioning vents or ceiling fans. You want to place the machine so its output gets carried by that existing airflow, not shot directly against it. Outdoors, note the wind direction. The goal is to let the breeze work for you, carrying fog into your scene. Always have a dedicated, grounded power outlet. A standard 1000W machine pulls about 8.3 amps; don’t share the circuit with a coffee maker or a bank of PAR cans.
Step 2: Fill the tank with the correct fluid. Open the tank cap. Pour slowly to avoid spills. Most tanks have a max fill line, honor it. Overfilling can cause fluid to leak into the machine’s internal electronics when you move it. If you’re unsure about fluid compatibility, the rule is brutal: when in doubt, don’t pour. Check the manual or the manufacturer’s website. Using the wrong type is the single fastest way to kill a pump.
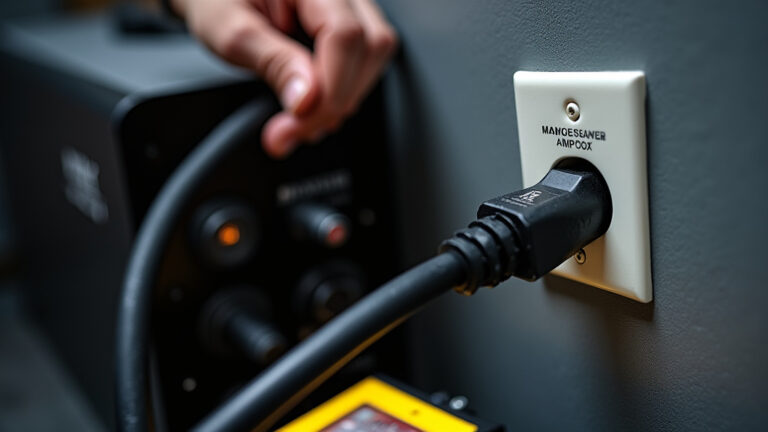
Step 3: Position and plug in. Place the machine on a stable, level surface. Point the output nozzle toward the area you want to fill. If hiding it, ensure nothing flammable is near the nozzle and that the hot exhaust has room to dissipate. Use a heavy-duty extension cord if needed, one rated for outdoor use if you’re outside.
Step 4: Power on and warm up. Flip the power switch. You’ll usually hear a faint hum from the internal fan and see a heating indicator light. The ready light will illuminate after 5 to 8 minutes for a standard machine. Haze machines with instant start are the exception. This warm-up period is the heating element bringing the fluid to vaporization temperature. Hitting the fog button before the ready light comes on does nothing but stress the pump.
Step 5: Test and adjust. Once the ready light is on, press the manual fog button for a one-second burst. Watch the cloud. Is it thick enough? Does it drift correctly? This is your chance to adjust the machine’s aim or your fan placement. Most machines have a output density control, start at 50% and adjust based on this test.
Step 6: Operate via your chosen control. Use the wired remote, the wireless remote, or a DMX controller for precise timing. The best practice is short, controlled bursts rather than holding the button down. This gives the atmosphere time to spread and prevents the pump from overheating. For haze, you might use a timer for a brief pulse every few minutes.
Step 7: Cool down completely. After your last burst, turn the power switch off. Leave the machine plugged in and untouched for 30 to 45 minutes. The internal fan will keep running to cool the heating element. Moving the machine during this time can slosh hot fluid onto sensitive parts or cause a burn. Once it’s cool to the touch, you can unplug and pack it.
Skipping the scout and the cool-down are the two most common errors. The first gives you poor coverage, the second gives you a broken machine by next weekend.
Pairing Fog with Lighting for Maximum Impact
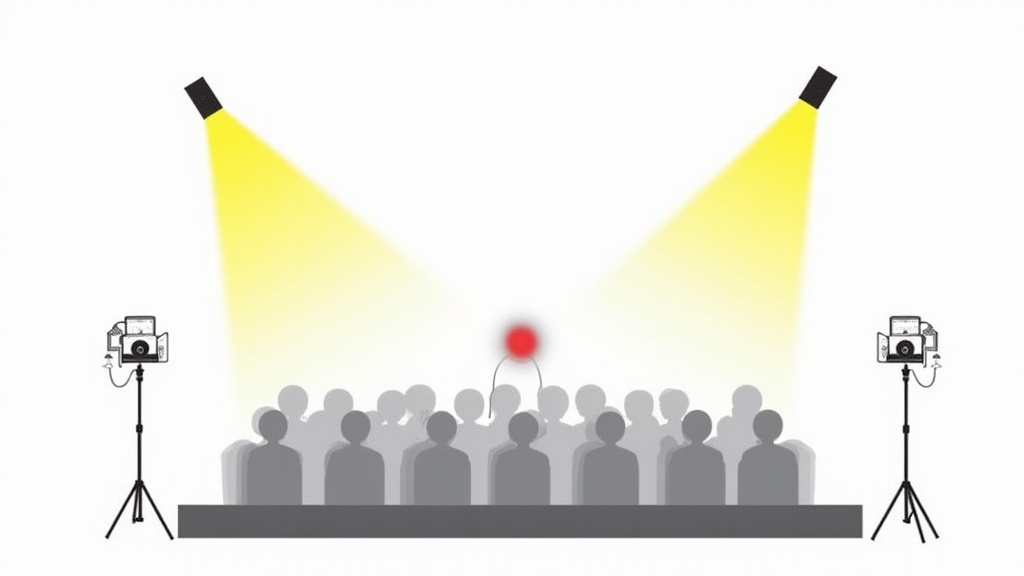
Fog and haze don’t create the effect. They reveal the light that’s already there. This is the principle behind every concert laser show and dramatic stage cross.
The angle of the light is everything. Position your strongest, hardest light sources, spotlights, moving heads, laser projectors, so their beams cut through the fog at a 30 to 45 degree angle from the audience’s sightline. Front light hitting fog just illuminates a wall of white. Side light and back light create depth, dimension, and those defined beams. For laser projectors, haze is mandatory. Fog is too dense and will scatter the beam into a diffuse glow; haze allows the sharp, bright lines to remain visible across a distance.
I once set up two 1200W foggers for a small club gig but aimed them straight at the stage from the front. The DJ’s moving lights behind the fog looked like dim, colored blobs. We spent the first break repositioning the machines to the sides, letting the fog drift across the stage instead of sitting in front of it. The difference was instant, the beams carved through the darkness, and the energy in the room changed.
Fans are your dispersion allies, but placement is critical. Never point a fan directly into the output nozzle of a standard fog machine, it disrupts the vaporization process and can blow fluid back into the heater. Place a fan about half a meter behind or to the side of the machine. Its job is to gently catch the emerging fog or haze and push it further into the space, creating a more even, lingering atmosphere.
TL;DR: Lights at a sharp angle create beams. Fans behind the machine spread haze. Front-facing fog just creates a white wall.
Critical Safety and Etiquette Rules
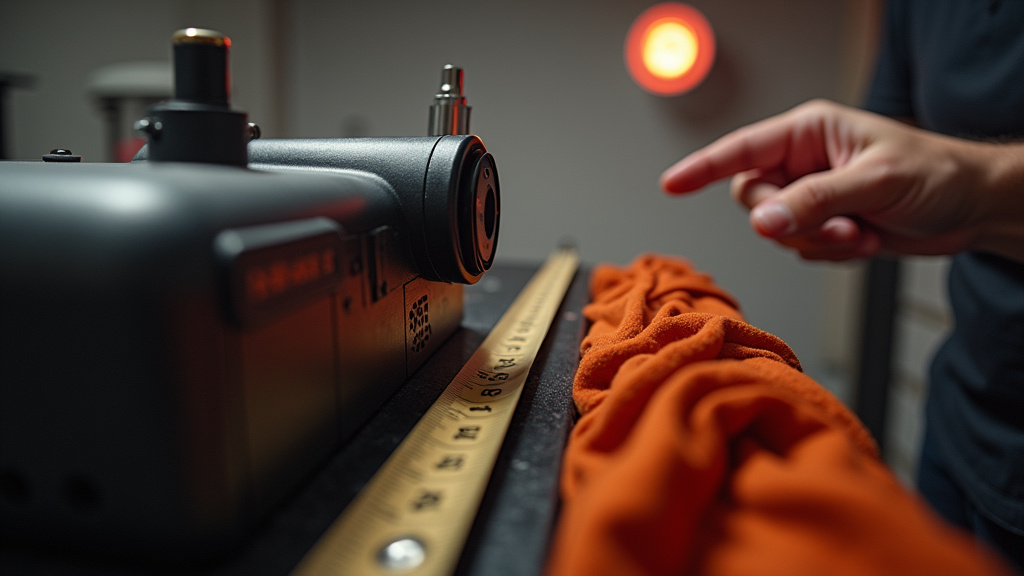
This isn’t just about not burning down the venue. It’s about not getting kicked out of it.
First, the fire-safety talk. While modern water-based fog fluids are non-flammable, the machine itself gets extremely hot. Keep the nozzle and exhaust vents clear of any fabric, paper, or decorations. Maintain at least a one-foot clearance on all sides. Never operate a machine that shows signs of damage to its power cord or casing.
Smoke detectors are your nemesis. Most modern venues have photoelectric smoke detectors that are triggered by particulate matter, exactly what a fog machine produces. Always inform the venue manager you’ll be using fog. Many have a procedure to temporarily disable detectors in a controlled area or will require you to use a haze machine, which produces finer particles that are less likely to trigger alarms. This is a non-negotiable part of professional fog machine smoke alarm protocol.
Consider the people in the room. Even water-based fluids can cause respiratory irritation for some individuals, particularly those with asthma or allergies. Use adequate ventilation when possible. Avoid directing output directly at people’s faces. It’s also basic courtesy, nobody wants to be soaked in a wet, glycol-scented cloud.
Outdoors, the rules shift. Wind is your primary tool and your main challenge. Always do a test burst to see how the wind carries the fog. Be mindful of neighbors or public spaces; drifting fog can obscure views and is a genuine concern near roads. Our guide on using a fog machine outdoors covers wind management and power safety in detail.
Before you start: The heating element remains at scalding temperatures for over 30 minutes after shutdown, never touch the metal nozzle. Always use a grounded (three-prong) outlet to prevent electrical shock. Never leave a powered machine unattended.
Maintenance: The Vinegar Flush That Saves $200
A clean machine is a reliable machine. Residue is the enemy. Every time you use it, a tiny amount of fluid cooks onto the heating element and pump lines. Over 40-50 hours of operation, this builds up into a crust that restricts flow. The output gets wispy, then stops.
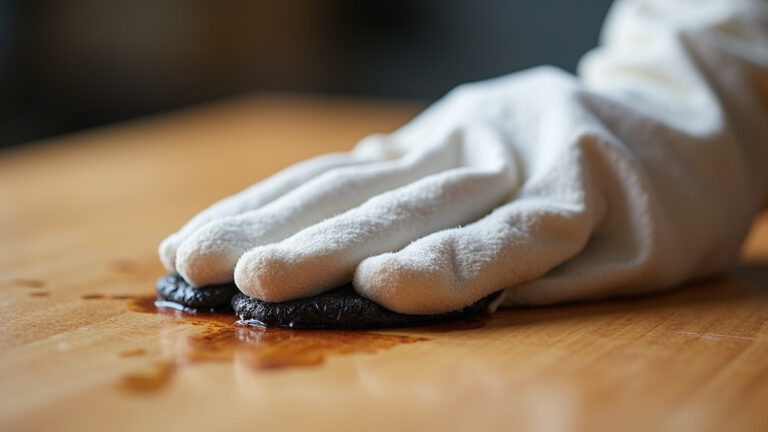
The post-show wipe-down is essential. After the machine is fully cool, take a cloth dampened with distilled water and wipe the output nozzle and the opening of the fluid tank. This removes the sticky fog machine residue that would otherwise harden. It takes thirty seconds.
The deep clean happens on a schedule. When you notice output weakening, or every 40 hours of runtime (whichever comes first), perform a vinegar flush. You’ll need white vinegar and distilled water.
1. Ensure the machine is off, unplugged, and cool.
2. Empty all fluid from the tank.
3. Mix a solution of 80% distilled water and 20% white vinegar. Fill the tank about a quarter full.
4. Plug in the machine, turn it on, and let it warm up completely.
5. Hold the fog button for several long bursts (10-15 seconds total) to pump the vinegar solution through the system. You’ll see weak, acrid-smelling vapor.
6. Turn off the machine and let it cool for 30 minutes.
7. Empty the vinegar mix, rinse the tank with plain distilled water, and run a tank of plain distilled water through the machine in the same way to flush out any vinegar residue.
This process dissolves the mineral and glycol scale. I learned its importance after a Martin Magnum 2000 haze machine at a theater I worked with clogged mid-show. The rental house charged us $180 for the service call and flush. Now, we flush our own machines every major production.
For long-term storage, never leave fluid in the tank. It can separate, grow microbes, or corrode components. Empty it, run a little distilled water through to clear the lines, and let it dry with the cap off. Store in a cool, dry place. Our article on storing fog fluid in machine explains the chemistry of fluid degradation over time.
Troubleshooting: When the Fog Won’t Flow
The machine is on, the ready light is lit, but you press the button and get a pathetic puff or nothing but a groaning pump sound. Don’t panic. Run down this list.
First, check the obvious. Is there fluid in the tank? Is the tank cap sealed tightly? A loose cap breaks the suction the pump needs. Is the output density control turned up? It might have been dialed down after the last use.
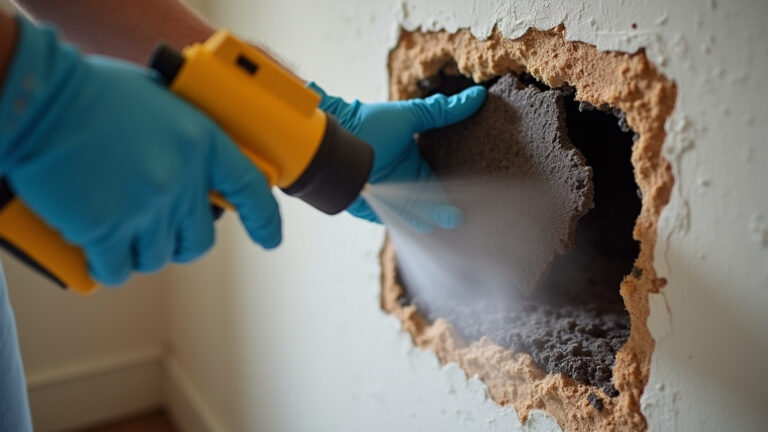
If the basics check out, you likely have a clog. The pump is trying to pull fluid but can’t. This is where the YouTube repair hack with the syringe and vinegar is legit. As shown in one transcript, you can disconnect the fluid intake tube, use a 5ml syringe filled with white vinegar, and gently inject it into the pump inlet while activating the fog function. This can break up a fresh clog without a full teardown. It’s a field fix.
If the machine heats but the ready light never comes on, the thermal fuse or thermostat might be blown, a job for a technician. If it trips a circuit breaker as soon as you plug it in, you have a serious internal short. Unplug it immediately.
For persistent weak output, the problem is almost always residue buildup. It’s time for the full vinegar flush described in the maintenance section. Prevention is better than cure, which is why choosing high-quality fluids from a list of top fog juice fluids matters. Cheap fluids have more impurities that leave behind more residue.
Frequently Asked Questions
How long does fog machine fluid last?
standard 1000W machine uses about one liter of fluid in 2-3 hours of intermittent use. For a four-hour event, have at least 1.5 liters on hand. Haze machines are more economical, using fluid much slower to maintain a thin atmosphere.
Can I use a fog machine indoors with central air/heat on?
Yes, and you should. The HVAC system helps disperse the fog or haze evenly. Place the machine so its output goes with the airflow from a vent, not against it. Just be aware it may spread the effect to connected rooms.
What’s the difference between a fog machine remote and DMX control?
basic remote lets you trigger bursts from a distance. DMX control, using a standard 3-pin or 5-pin cable and a lighting console, allows for precise, programmable control, timing bursts to music, setting exact output levels, and integrating fog cues into a full light show.
Why does my fog smell sweet or weird?
The smell comes from the glycol or glycerin in the fluid vaporizing. Higher-quality fluids are formulated to minimize odor. A burnt or acrid smell during operation is a warning sign, turn off the machine and check for a clog or the use of incorrect fluid.
Is it safe to use a fog machine around pets?
It’s not recommended. Pets have more sensitive respiratory systems. The particulates and scent can cause distress or health issues. Keep pets out of any room where you are actively using a fog or haze machine and ventilate thoroughly afterwards.
Before You Go
Using a fog machine well means respecting its mechanics. Match the fluid to the machine. Give it the warm-up and cool-down time it demands. Place it with intention, using airflow as your paintbrush. Your goal isn’t just to make fog, but to use it as a tool to shape light and space.
The real pro move is the boring one: cleaning the nozzle after every use and running a vinegar flush before output ever starts to fade. That habit alone will double the life of your machine. Start with short bursts, watch how the atmosphere behaves, and adjust. The difference between a soggy room and a transformed one is in those details.