How to Operate a Fog Machine Without Its Remote Control
This post contains affiliate links. As an Amazon Associate, we earn from qualifying purchases.
To use a fog machine without a remote, you need to locate and use its built-in manual controls, connect a compatible wired accessory, or employ a DMX lighting console. The process always starts with powering the unit and allowing a full 5-10 minute heat-up cycle before attempting to trigger fog output.
Most people assume a missing remote means a dead machine. They plug it in, hit a button, get nothing, and give up. The machine isn’t broken. It’s either cold, or they’re looking in the wrong place for the controls.
This guide walks through every method to operate a fogger remotely, from the simple button on the side to professional DMX rigs. You’ll learn what to do if your specific model seems to have no controls at all.
Key Takeaways
- The manual trigger button is almost always on the unit itself or on a short cable; it’s your primary backup.
- Heating is non-negotiable. No fog machine produces fog until its internal element reaches operating temperature, which takes 5-10 minutes.
- Wired controllers and timers plug into a dedicated accessory port and are brand-specific; a Beijing Ultrasonic timer won’t work on a Rosco unit.
- DMX control isn’t just for effects; sending a DMX signal can also command the heater to turn on for machines that otherwise stay dormant.
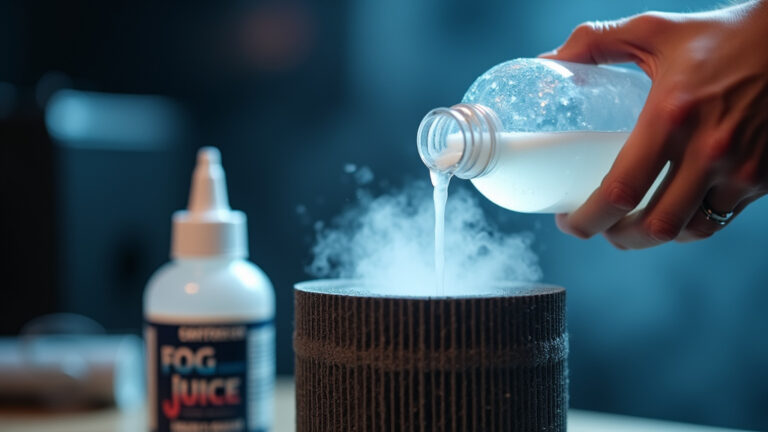
- Leaving fluid in a cold machine between events is the fastest way to clog the pump. Always run a water purge or use a fog machine cleaning routine if storing it for more than a week.
The Universal First Step: Power and Preheat
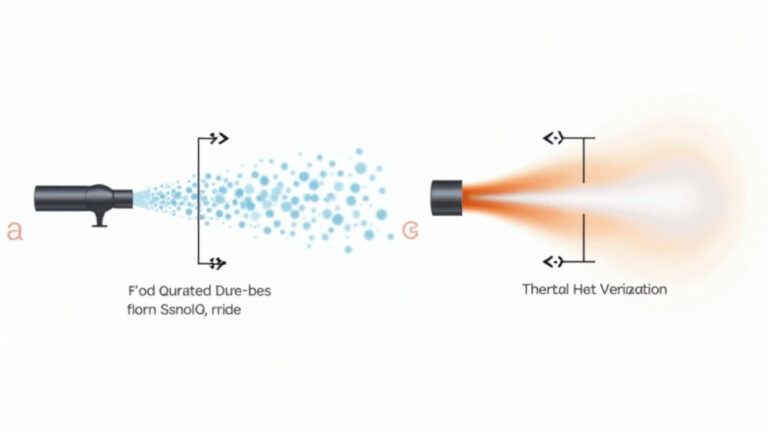
Every method fails if you skip this. A fog machine is not a fan. It’s a boiler. Inside, a heating element must vaporize the specialized fluid before it can exit the nozzle as fog. This element takes time to reach several hundred degrees.
A standard 1,500-watt fog machine heating element requires a minimum of 300 seconds (5 minutes) to reach its operating temperature of 390–430°F (199–221°C), as per typical OEM thermal cutoff specifications. The “ready” indicator light is wired in parallel with this cutoff circuit.
Plug the machine into a grounded outlet. Flip its main power switch, often on the back or side, to the “On” or “I” position. You’ll usually hear a faint hum from the heating element and maybe a small fan. An indicator light, often orange or red, will glow. Wait. Five minutes is a minimum; ten is better for consistent, dense output.
TL;DR: Power on, then wait a full 5–10 minutes for the heating element to hit temperature. The ready light is your only go signal.
Manual Button on the Unit
This is the most common backup. Before you buy any accessory, scrutinize the machine’s body and any cable coming from it.
Look for a button labeled “Manual,” “Fog,” or with a cloud icon. On many models, like common Chauvet or American DJ units, this button is on a short, dedicated cable tethered to the main unit. On others, it’s on a small control panel on the housing itself.
Press and hold this button to emit fog. Release to stop. Some advanced panels include a fog output knob right next to the button. This knob controls a variable resistor that limits power to the pump motor, letting you dial the fog stream from a gentle wisp to a full-throttle blast.
Common mistake: Tapping the manual button like a doorbell, the pump needs a sustained signal. Hold it down for at least 1-2 seconds to engage the fluid feed system properly.
If There’s No Obvious Button
Check the user manual. Some manufacturers, in a baffling design choice, hide the manual trigger function behind a sequence of presses on the main power button. For instance, you might power on, wait for the light, then double-press the power button to activate a manual burst. This is why downloading the PDF manual for your model is the first step in any troubleshooting tree.
| Control Type | What to Look For | Best For |
|---|---|---|
| Dedicated Manual Button | A physical button on a cable or panel, labeled. | Quick, reliable on-demand fog. The first thing to try. |
| Integrated Control Panel | Buttons and knobs on the unit for fog, speed, timer. | Adjusting output intensity without extra gear. |
| Power-Button Sequence | No separate button; a coded press pattern on main switch. | Machines with minimalist exteriors. Check the manual. |
Wired Controllers and Timers
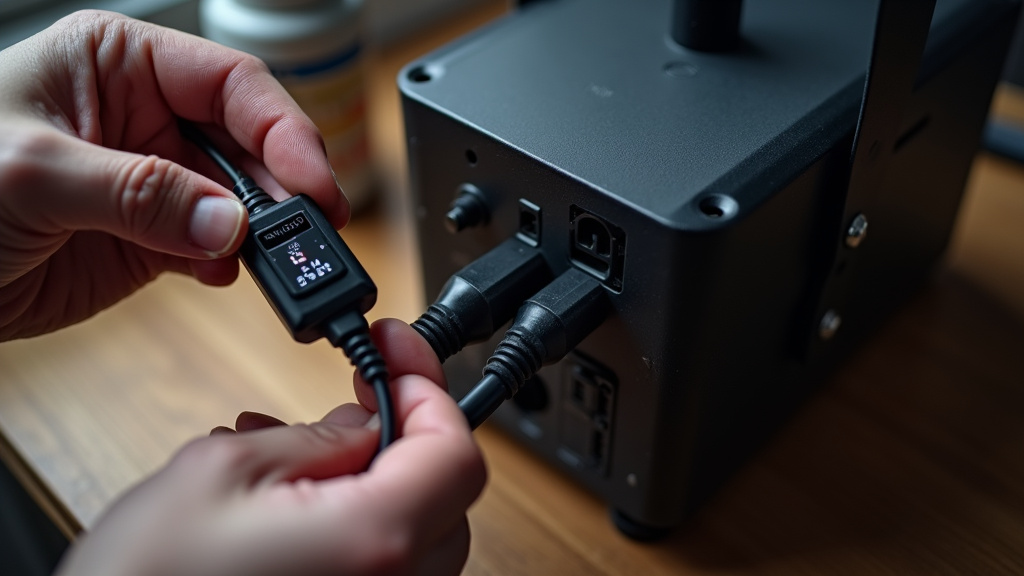
Many foggers have a small, round port labeled “Remote,” “Control,” or “Accessory.” This is a low-voltage input for wired triggers. It accepts simple switch closures, connecting two pins inside the port completes a circuit and tells the pump to run.
You can buy compatible wired controllers. These are often just a button in a box with the right plug. More useful are wired timers. You plug the timer into the accessory port, set an interval (e.g., fog for 2 seconds every 30 seconds), and the machine runs automatically.
I used a generic wired timer from an old Halloween store on a mid-range fogger for a haunted house loop. It worked for one night. On the second night, the interval drifted, then the timer failed closed, dumping an entire tank of quality fog machine fluid onto the floor in a continuous 10-minute geyser. Now I only use timers from the machine’s original manufacturer or verified compatible brands like Beijing Ultrasonic for their own units.
Compatibility is critical. The plug size, pin voltage, and signal type must match. A timer for a 12V DC machine won’t work on a unit expecting a dry contact (0V) signal. Your manual or the manufacturer’s website will list specific accessory part numbers.
The DMX Professional Path
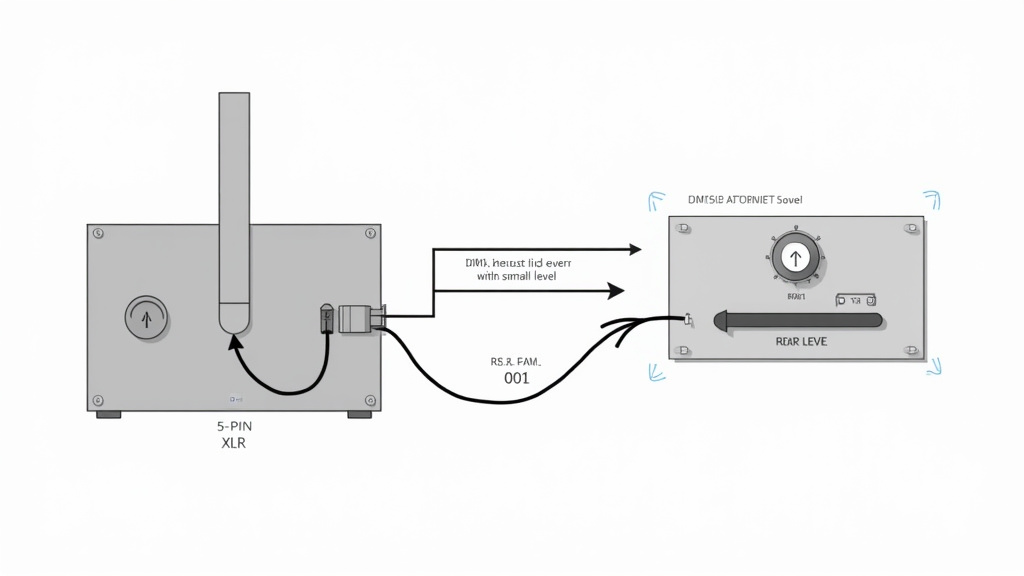
DMX512 (Digital Multiplex) is the standard protocol for stage lighting and effects. If your fog machine has a 5-Pin XLR input (sometimes a 3-Pin), it speaks DMX. This isn’t just an alternative to a remote; it’s an upgrade.
A DMX controller (a lighting console or a simple DMX fader) sends digital commands down the cable. You can program precise cues: fog at 50% intensity for 4 seconds, starting 30 seconds into the song. More importantly, DMX can control all machine functions, including turning the heater on and off.
Some professional machines, like the Rosco Vapour, have a standby mode where the heater only activates upon receiving a DMX signal. No DMX, no heat, making it seem dead to someone without the console.
- Connect a standard 5-Pin XLR cable from your DMX console’s output to the fog machine’s “DMX IN.”
- Set the machine’s DMX address via its dip switches or menu (e.g., address 001).
- On your console, patch a fog machine profile and assign it to that address.
- The console can now send “Heater On” and “Pump Level” commands.
For a single machine, a simple DMX fader board is a permanent, reliable remote replacement. It gives you manual slider control over fog output without programming cues.
DIY and Alternative Triggers
This is for the tinkerer. The accessory port is just a switch. You can trigger it with almost anything that can close a circuit.
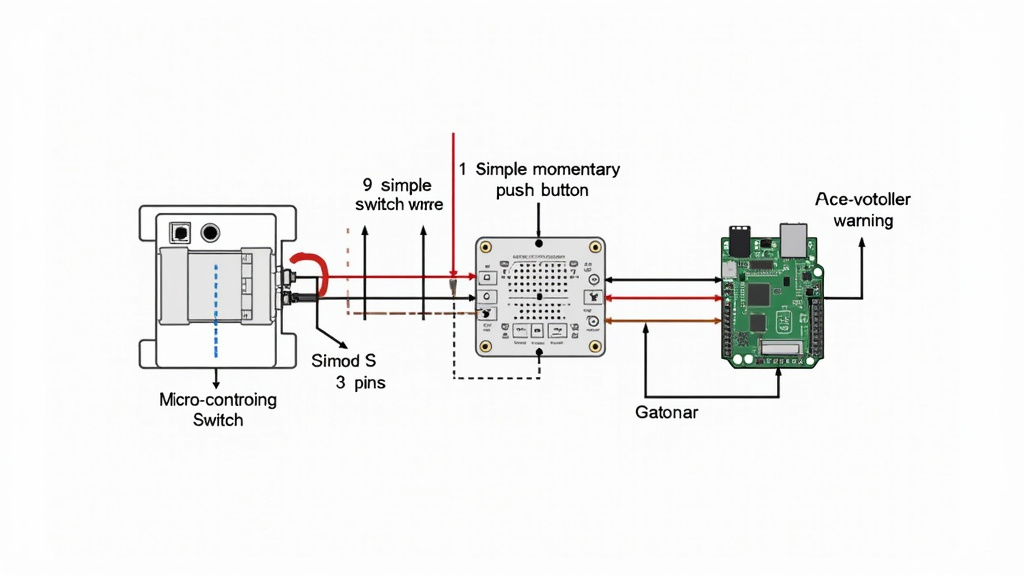
The Simple Switch: A momentary push-button switch from an electronics store (like Radio Shack, once upon a time) is all you need. You must identify which two pins in the accessory plug are the “switch” pins, usually with a multimeter in continuity mode. Solder wires from those pins to your switch. Now you have a custom remote.
Smart Home Integration: A micro-controller like an Arduino or Raspberry Pi can be programmed to trigger the fog machine on a schedule, via a web interface, or even via a voice command through Alexa or Google Home. This requires basic coding and electronics knowledge but creates a powerful automated system.
Common mistake: Using a high-voltage switch or household wall switch for the accessory port, the port typically uses less than 12V DC. Applying 110V AC will fry the machine’s control board instantly. Always verify voltage with a multimeter before connecting anything.
What about universal remotes or phone apps? It’s rarely straightforward. Fog machines don’t use IR or Bluetooth in a standard way. Some high-end models have dedicated apps. For others, the only path is to use a smart-home setup as described above, where your phone controls the micro-controller, which then triggers the machine.
What If It Still Won’t Work?
You’ve tried every port and button. You’ve waited 15 minutes. The heater light is on, but nothing happens when you trigger it. The problem is likely mechanical, not control-related.
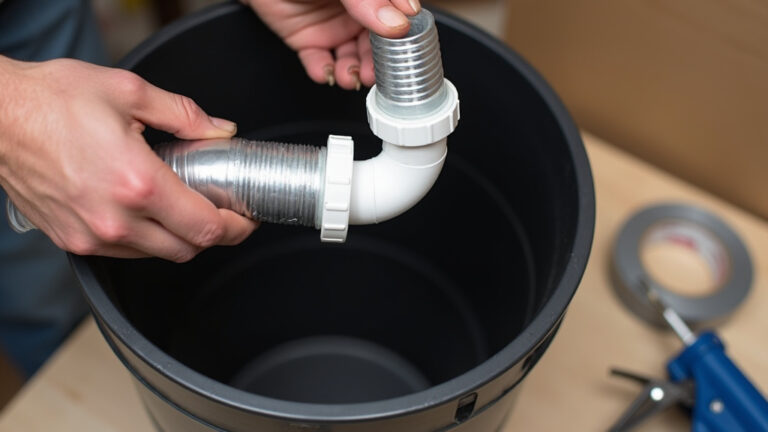
- Clogged Pump or Fluid Line: This is the #1 cause of failure. Old, sticky fog fluid shelf life or residue can jam the tiny pump. Disconnect the fluid line from the tank and try triggering. If the pump doesn’t audibly click or attempt to suck, it’s clogged or dead. A fix involves flushing with white vinegar or warm water (see our cleaning your fog machine guide).
- Empty or Faulty Fluid Tank: Some machines have a fluid-level sensor. If the tank is empty or not seated perfectly, the machine won’t engage the pump as a safety measure.
- No Fluid Flow: Even with a working pump, a kinked or pinched feed tube from the tank to the pump will stop fog. Check the entire path.
- Thermal Cutoff Failure: If the heater light never comes on, the heating element or its thermal safety fuse may be blown. This requires a multimeter to diagnose and often a professional repair.
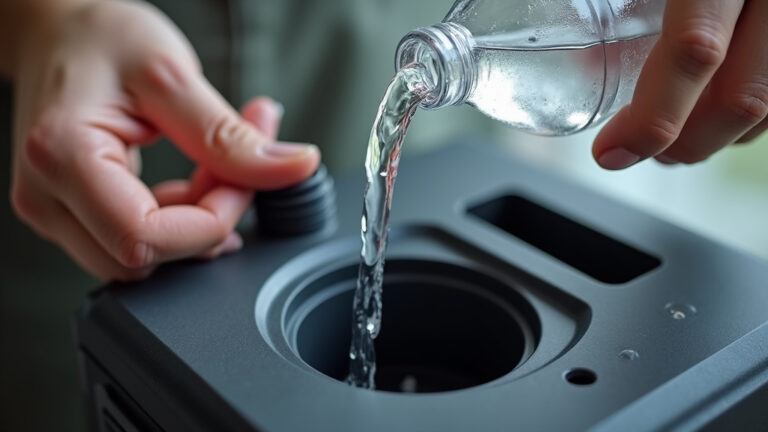
Before you declare the machine dead, run a water purge. Empty the fluid tank storage compartment, fill it with distilled water, and try to run the machine. You’ll get steam, not fog, but it will tell you if the pump and heater are fundamentally working. If it steams, your issue is with the fluid itself.
Frequently Asked Questions
Can I use any wired remote with my fog machine?
No. You must use a controller designed for your specific brand or one that matches the electrical specifications of your machine’s accessory port. Using an incompatible remote can cause a short circuit.
My fog machine has a remote input, but no remote came with it. What should I buy?
First, identify the exact model number of your fog machine. Search for “[Model Number] wired remote” or “[Brand Name] replacement remote.” Manufacturers often sell these as separate accessories. If you can’t find one, a compatible wired timer from a reputable electronics supplier is a good alternative.
How do I control a fog machine with DMX?
You need a DMX console and a 5-pin XLR cable. Set the fog machine to a DMX address (e.g., 001). On the console, assign a fog machine fixture to that address. You can then use the console’s faders or programming to control the fog output and heater functions.
Is it safe to leave fog juice in the machine between uses?
For short periods (a day or two), it’s generally okay. For longer storage, it’s best to empty the tank. Old fluid can leave behind glycol-based residue that clogs the pump and heating chamber. Always check the fluid manufacturer’s recommendations.
Before You Go
Losing a remote is an annoyance, not a catastrophe. Your fog machine’s manual controls are the first and most reliable fallback. Remember the hierarchy: find the button, check for a port, consider DMX. The core fog machine operation remains the same, heat, then trigger.
Investing in a compatible wired timer or a simple DMX fader gives you more control than the original remote ever did. And if the machine is truly stubborn, the issue is almost always a maintenance clog, not a control failure. Keep the fluid fresh, run occasional cleans, and your machine will outlive a dozen remotes.